The leading-edge technology for gear NVH analysis
NVH G-EAR
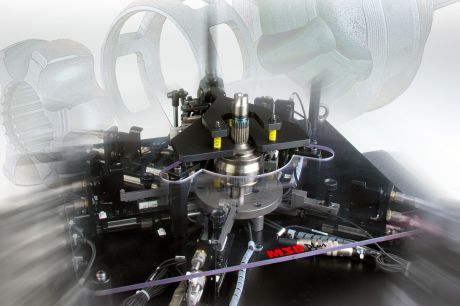
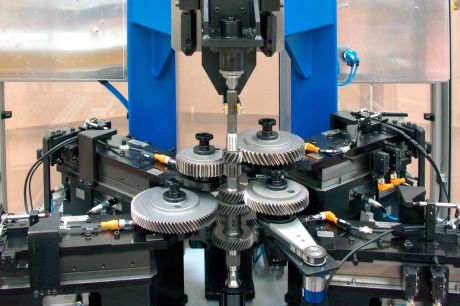
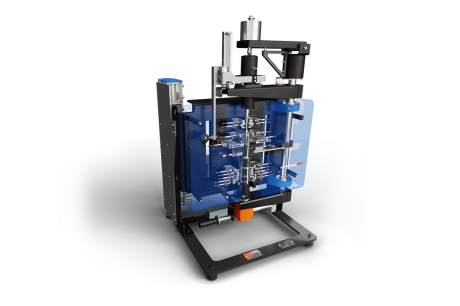
Marposs NVH G-EAR tester offers what today gear manufacturers really need to complete their internal production quality inspection. With its solid and robust structure, the machine, which works on the Single Flank rolling action principle, is capable to test gears under high speed and torque conditions to evaluate surface defects, machining distortions and noise behavior on the individual component prior to the assembly into the gearbox.
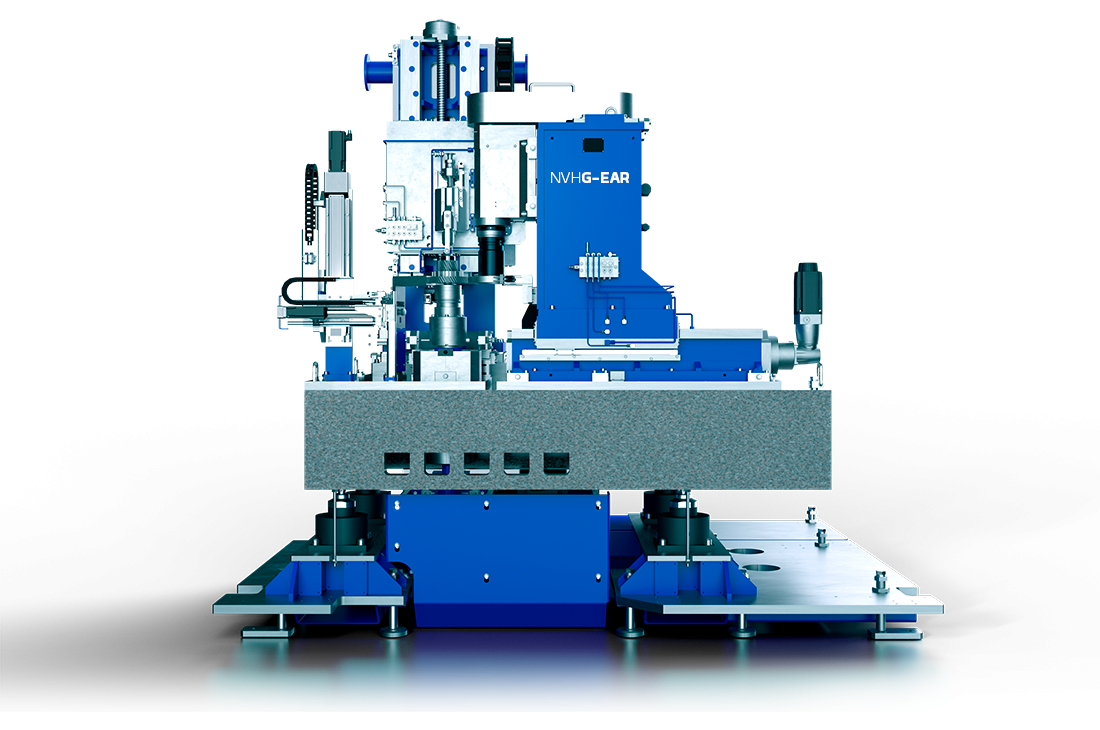
Marposs NVH G-EAR tester, that works on the Single Flank testing principle of one master gear meshing with the component under inspection, is able to detect macro-geometry (nicks, runout etc.) and micro-geometry (gear mesh excitation, ghost orders) defects that are responsible of gear whine and noise phenomena.
The ability of achieving high values of torque and rotational speed and the possibility to adjust them at will during testing, is one of the major benefits of the application, which allows testing the gears at operating conditions almost comparable to those found in the final e-Drive.
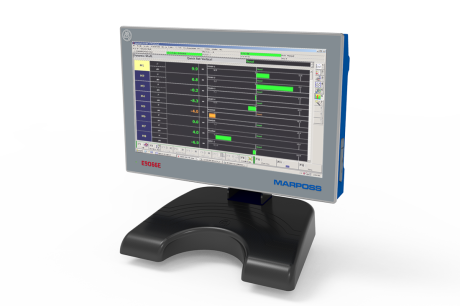
A robust granite base frame to become non-sensitive to external interferences and disturbances and a highly configurable software make Marposs NVH gear tester at the forefront of technology in the sector, capable of correlating data with the End Of Line test rig.
The output parameter is the angular acceleration (rad/s2) evaluated instantaneously and in the long run.
The signal of the sensor is elaborated to obtain the FFT spectrum to show the amplitude of the frequencies of vibrations.
The spectrum normally shows a range of frequencies related to the gear meshing frequencies and relevant sidebands, whose amplitude is usually related to the transmitted load. Unexpected high amplitude are related to ripples.
CHALLENGING TESTING CONDITIONS
The machine has the capability to measure gears at highly demanding testing conditions. As a matter of fact, the system offers the possibility to set the operating conditions in the range 0-3000 rpm (rotational speed) and 0-40 Nm (torque).
WIDE OPERATIONAL RANGE
The system has the capability to measure gears and shafts with maximum part length 350 mm and maximum diameter 250 mm, offering to our customers the opportunity to accommodate in one single piece of equipment the regular gear production range.
ADAPTABILITY TO PROCESS NEEDS
Design protect for both manual and automatic (in-line) part loading.
QUICK CYCLE TIME
A very quick cycle time, in the range of 20-30 seconds, is perfect for in-line 100% check integration.
INSENSITIVE TO EXTERNAL VIBRATIONS
A granite base frame allows to insulate the machine from environment and other external disturbances.
HIGH LEVEL OF ACCURACY
Noise data are consistent with End of Line test rigs and analytical laboratory inspection.
|
Parameter |
Value |
|
Power Consumption |
10 kW |
|
Power Supply |
50 Hz – 400 V (3+N) |
|
Installed Power |
50 kVA |
|
Nominal Power |
32 kVA |
|
Nominal Current |
50 A |
|
Control Voltage |
24 V (=) |
|
Machine Footprint |
3600 mm (L) x 2500 mm (W) x 2800 mm (H) |
|
Loading Height |
1127 mm |
|
Measuring Sensors |
1 Torsiometer 2 Incremental Encoders 1 Torsional Accelerometer (TAC) |
|
Driving Torque |
0 – 40 Nm |
|
Part Rotating Speed |
0 – 3000 rpm |
|
Part Diameter Range |
40 – 250 mm |
|
Part Length Range |
40 – 350 mm |
|
Max Gear Width |
70 mm |
|
Center Distance Adjustable Range |
100 – 200 mm |
|
Master Gear Spindle - Adjustable Horizontal Position Range |
80 mm |
|
Part Load |
Manual and/or Automatic |
