DESCRIPTION
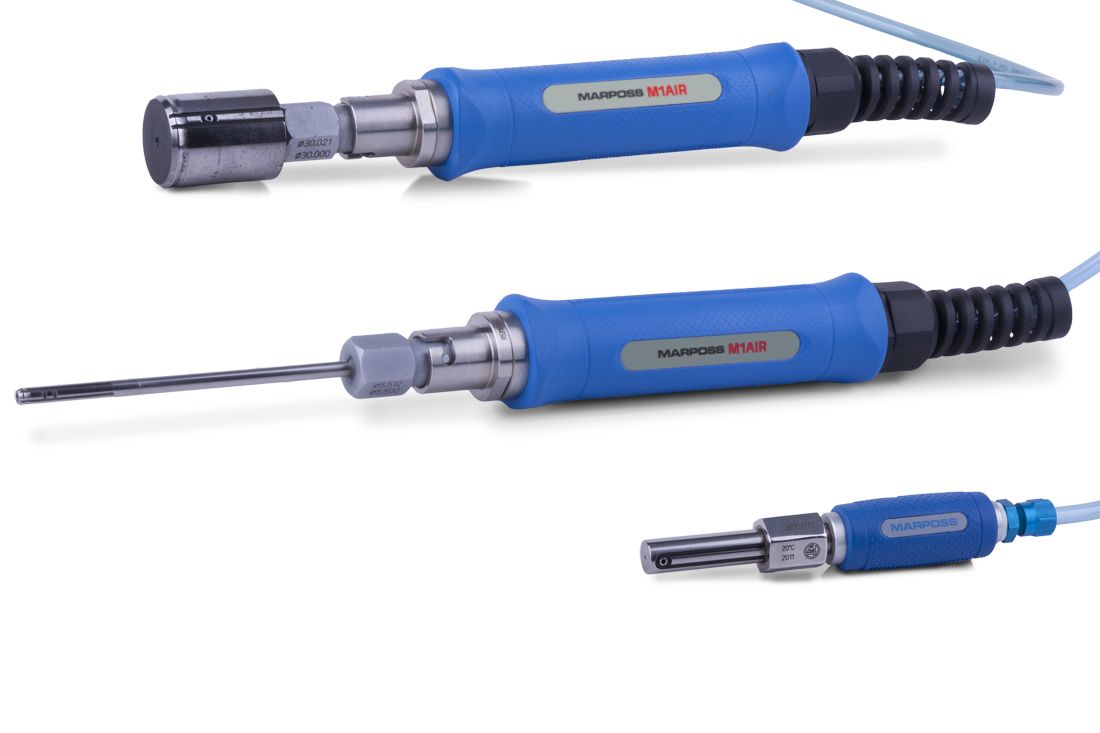
The measuring principle is based on the reading of the pressure variation, proportional to the variations in distance between the nozzles of the gauge and the part.
The measurement is performed using the balanced pneumatic bridge technique, with differential pressure transducers and electronic signal amplification.
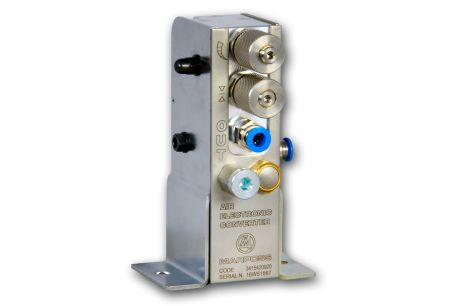
The signal is then converted from analog to digital directly on board the Air / Electronics converters.
For tolerances <6 μm or> 60 μm, Marposs can design and provide dedicated custom made gauges.
BENEFITS
- Gauging of components with very tight tolerance
- No risk of scratching the part
TECH SPECS
- Zeroing is performed via a master calibration ring
- Measuring range: max 0.1 mm for gauges with between 6.3 mm and 10 mm diameter
- Max roughness recommended is 0.8 μm Ra
- Repeatability (± 2σ): <0.5 μm
- Air supply: dry air carefully purified and filtered (filtration degree <0.5 μm)
- Air supply hose: internal Ø 4 mm - maximum length 2 meters
- Average consumption: <1000 l / h
Video
Please accept marketing-cookies to watch this video.
Download
BROCHURES AND MANUALS
| Brochure | |
|---|---|
| English |
M1 AIR: (475.52kB)
MANUAL GAUGING - Reference Guide: (13.95MB) |
| Japanese |
MANUAL GAUGING - Reference Guide: (25.51MB)
|
