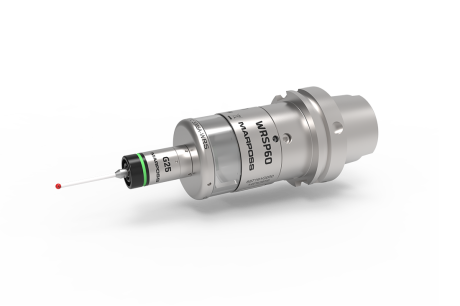
Software Cycles for Part and Tool Measure and Verification
SOFTWARE FOR PROBING AND LASER APPLICATIONS
Marposs has been an international market leader in the machine tool precision measurement sector for over 60 years. In response to the growing demand for increased accuracy when measuring work pieces and the geometrical dimensions and form of the finished part, as well as when setting and checking the tools used in the machining process, Marposs has developed a series of new software packages for its contact and non-contact probe systems.
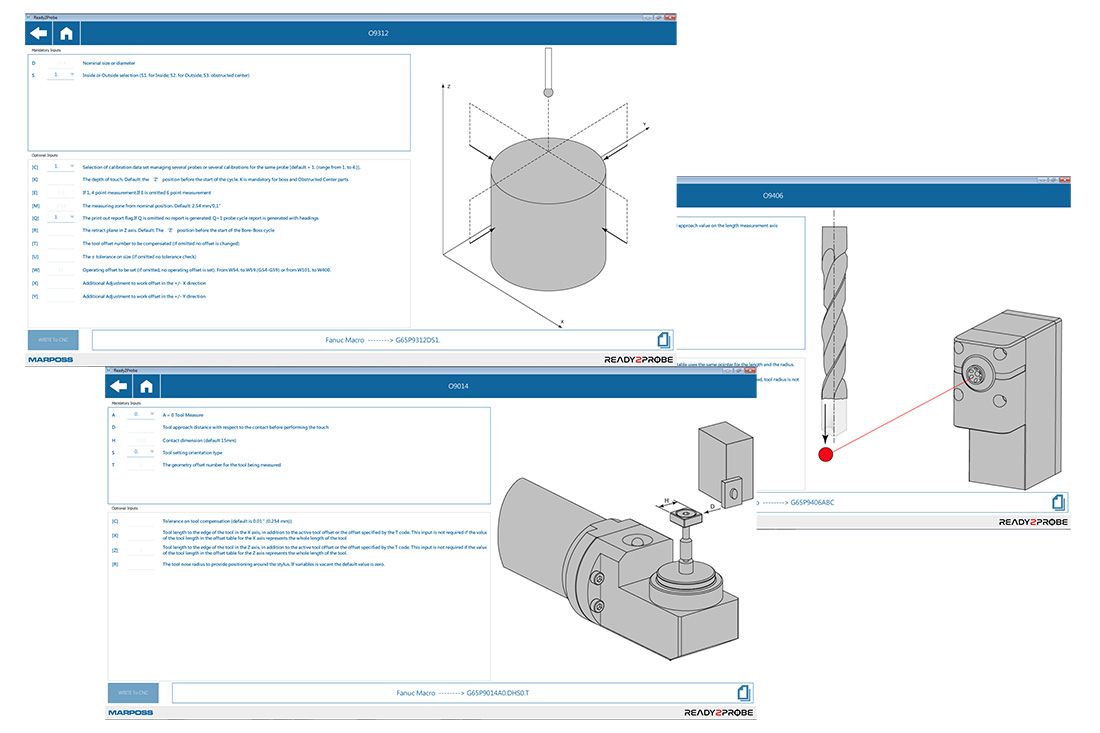
The software cycles have been designed for use during the production processes, which means that they can be used to check the part under machine conditions; this reduces the number of rejects, effectively increasing savings from an economic point of view.
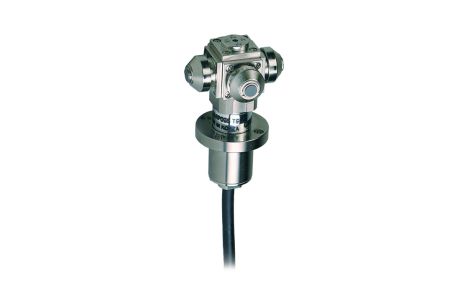
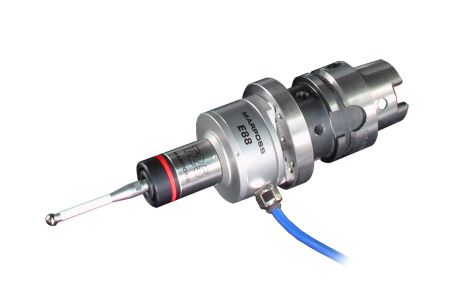
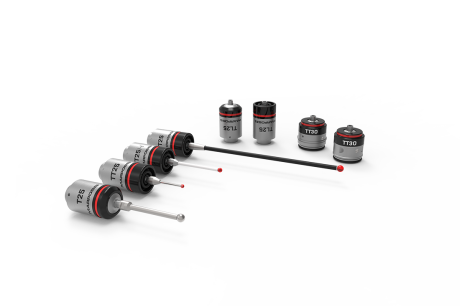
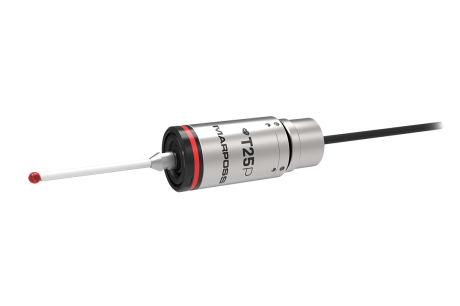
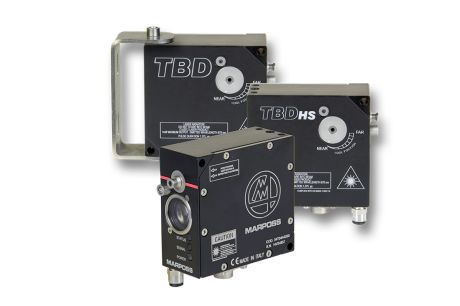
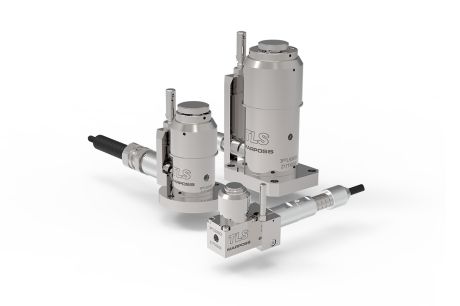
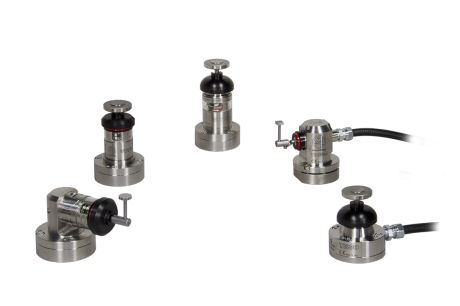
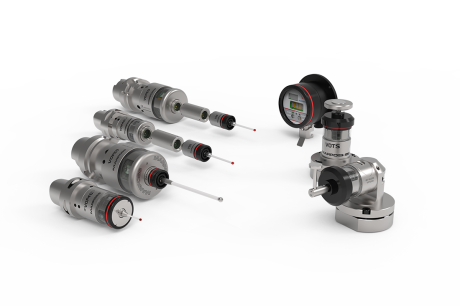
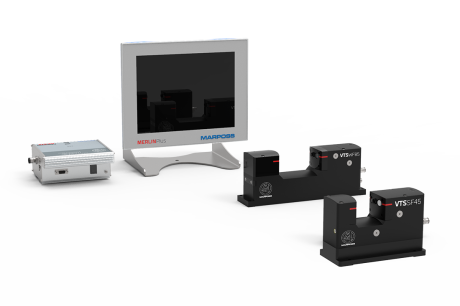
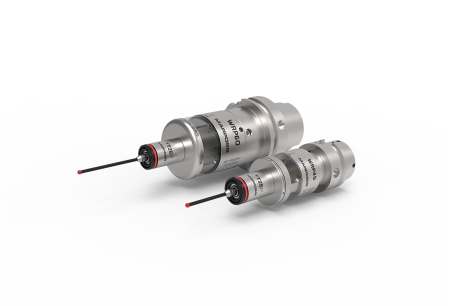
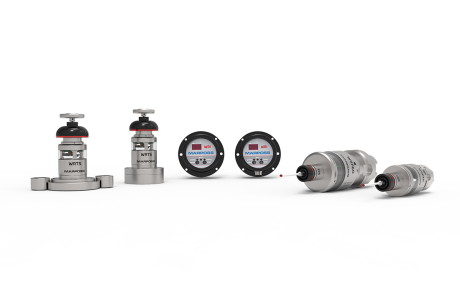
The software packages are used together with MIDA touch probes on MIDA Laser, TBD and VTS systems. They are applicable in the case of both part and tool inspection processes, and on every type of machine tool, machining centre, milling machine and turning centre, in addition, they are compatible with all the most widely used numerical control systems.
- Process and quality control
- Ease of installation
- Adaptability to the machine configuration
- Speed and accuracy of each measurement
- Suitable for monitoring and measuring a wide variety of parts and tools
- Probing software cycles for inspecting parts on machining centres and milling machines
The cycles designed to check the parts include a series of macros for measuring holes, shafts, surfaces, edges, pockets, shoulders and stock. These are sub-divided into three levels:- routine Inspection Basic designed to perform simple alignment and measurement functions on simple geometrical elements
- routine Inspection Premium, which include flexible angular and vectorial cycles
- routine Inspection Ultimate, designed to simply complex measurements, which would otherwise require complicated calculations, including aligning the probe with respect to the three working planes
The table below lists the composition of each level.
Part check cycles
|
|
LEVELS |
||
|
Measurement and calibration cycles |
Inspection Basic |
Inspection Premium |
Inspection Ultimate |
|
Protected probe positioning |
X |
X |
X |
|
Calibration cycle |
X |
X |
X |
|
Bore and boss measurements |
X |
X |
X |
|
Web and pocket measurements |
X |
X |
X |
|
Single surface measurement |
X |
X |
X |
|
Angle measurement on X/Y planes |
X |
X |
X |
|
Angle measurement on X/Z and Y/Z planes |
─ |
X |
X |
|
Angled bore and boss measurements |
─ |
X |
X |
|
Angled web and pocket measurements |
─ |
X |
X |
|
Angled single surface measurement |
─ |
X |
X |
|
Corner positioning |
─ |
X |
X |
|
Corner position with co-ordinates rotation angle |
─ |
─ |
X |
|
2 bores/bosses measurement |
─ |
─ |
X |
|
3/4 bores/bosses measurement |
─ |
─ |
X |
|
Stock measurement |
─ |
─ |
X |
|
Aligning the probe for multiple-axis* |
─ |
─ |
X |
|
Cycle call-up example |
─ |
─ |
X |
|
(*) = available only for Fanuc types CNCs or similar |
|||
- Probing software cycles for tool inspections on machining centres and milling machines
- Probing software cycles for part inspections on lathes and turning centres
- Probing software cycles for tool inspections on lathes and turning centres
- Laser software cycles for tool inspections on machining centres and milling machines
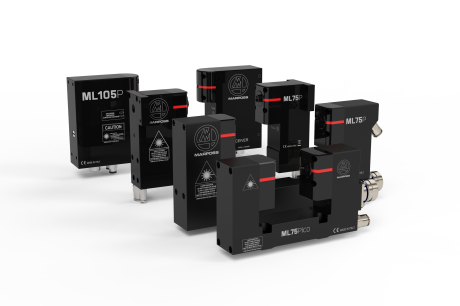
The laser software package library has been designed for performing in-machine tool measurements using the MIDA Laser systems.
The tool inspection cycles are performed on the tool while it is rotating, and enable the user to: - Identify the tool
- Check the tool for breakages
- Measure the tool length and diameter
- Measure the length and diameter of boring bars
- Check and update tool length and diameter
- Check the integrity of the tool cutting edge profile
- Measure and update the cutting radius and identify the worn sector
- Correct machine axes thermal drift
It is possible to perform multiple measurements on the tool during the machining cycle in order to check it for signs of wear at regular intervals.
The tool condition check is carried out based on the tolerance values PROGRAMMED by the operator.
Common cycles for machining centres, milling machines and turning centres
|
Measurement and calibration cycles |
Milling machines Machining centres |
Turning centres |
|
Mida Laser calibration cycle |
X |
X |
|
Concentric and non-concentric tool length and radius measurements |
X |
X |
|
Checking the integrity of single tool cutting edges at a point or on a straight profile |
X |
X |
|
Checking the integrity of single tool cutting edges on a complex profile |
X |
X |
|
Checking the tool circular sector |
X |
X |
|
Checking the tool for axial breakage |
X |
X |
|
Pre-setting disk mills |
X |
X |
|
Compensation for axes thermal drift |
X |
X |
|
Boring bar length and radius measurements |
X |
X |
|
Drip rejection axial tool breakage check |
X |
X |
|
Pre-setting standard turning tools |
─ |
X |
|
Pre-setting neutral turning or threading tools |
─ |
X |
|
Pre-setting turning tools for ribs and grooves |
─ |
X |
- Laser software cycles for tool inspections on turning centres
- TBD software cycles for tool inspections on machining centres and milling machines.
The software package is supplied with the hardware, and is not available separately. - VTS software cycles for tool inspections on machining centres, milling machines and turning centres
- The laser software package library has been designed for performing in-machine tool measurements using the VTS system. The tool inspection cycles permit
- Tool length
- Static and dynamic diameter
- TIR
- Cutting edge radius
- Micro-tool dynamic centre of rotation
- Machine axes thermal drift correction
BROCHURES AND MANUALS
| Brochure | Data Sheet | |
|---|---|---|
| English |
MIDA SOFTWARE: (1.40MB)
|
MIDA SOFTWARE: (3.79MB)
|
| Italian |
MIDA SOFTWARE: (1.40MB)
|
MIDA SOFTWARE: (3.76MB)
|
| German |
MIDA SOFTWARE: (1.41MB)
|
MIDA SOFTWARE: (3.79MB)
|
| French |
MIDA SOFTWARE: (1.40MB)
|
MIDA SOFTWARE: (3.78MB)
|
| Spanish |
MIDA SOFTWARE: (1.41MB)
|
MIDA SOFTWARE: (3.78MB)
|
| Russian |
MIDA SOFTWARE: (1.09MB)
|
- |
| Japanese |
MIDA SOFTWARE: (1.01MB)
|
- |
| Simplified Chinese | - |
MIDA SOFTWARE: (11.33MB)
|
