Multiple Gauging & Testing On E-Motor Components
The quality control of electric motor components involves the verification of extremely heterogeneous characteristics, from the measurement of geometric and dimensional parameters to the verification of functional and electrical characteristics.
A typical example of this condition is represented by automatic applications for quality control on components such as slip rings and brush holders, for externally excited synchronous motors.
The transversal skills in a wide range of gauging, inspection, and testing technologies make Marposs the ideal partner for the supply of complex automatic applications for the complete quality control of electro-mechanical components.

Slip Ring machine
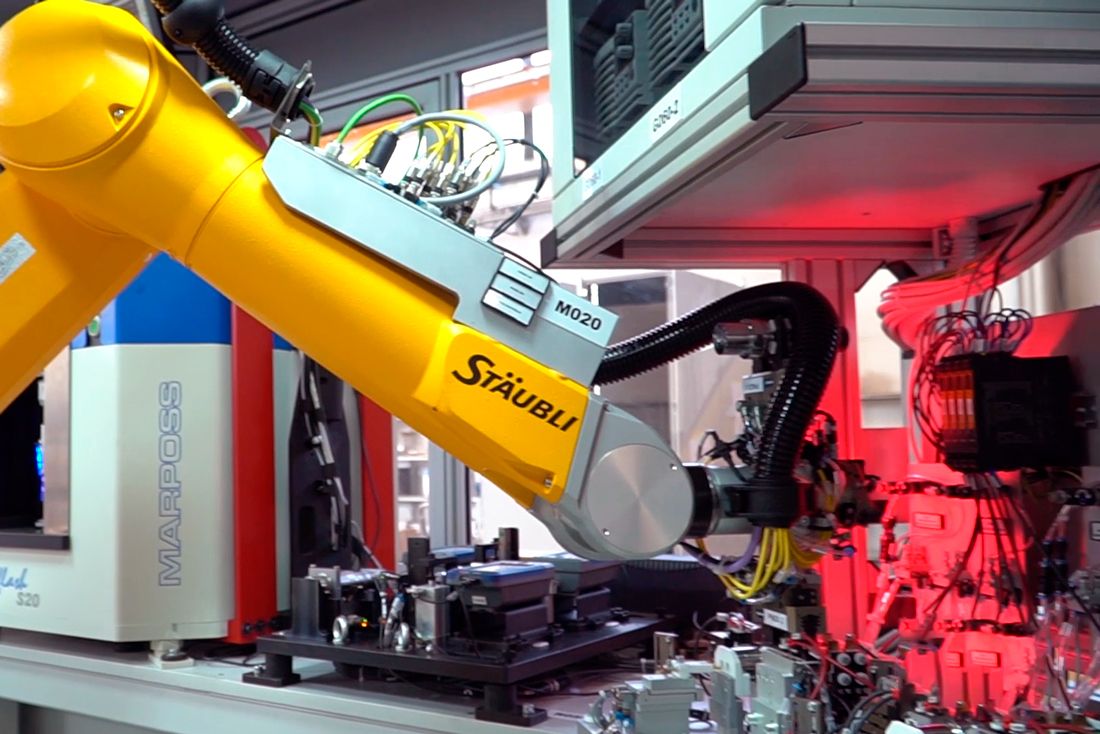
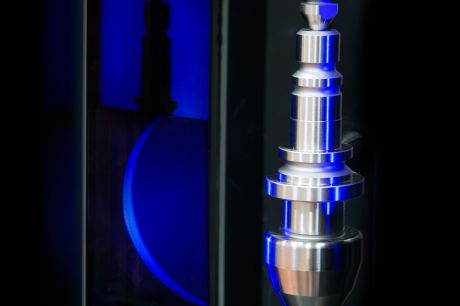
OptoFlash optical gauge, automatically loaded by a robot, is used for the dynamic execution of all dimensional measurements on the slip ring shaft. OptoFlash's 2D camera technology ensures the respect of the fast cycle time required for an automatic machine used for quality control in a mass production line.
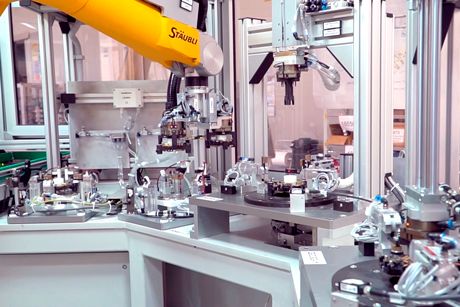
A special bench also loaded by a robot, allows to simultaneously carry out the roughness check on the electrical contact tracks.
The quality control on the component is completed with the execution of functional tests, electrical conductivity between the rings and the connection pins to the rotor windings, and electrical insulation between the two rings and the shaft body.
Brush Holder machine
For the assembled brush holder, a special measuring bench, also loaded by robots, is first used to measure some dimensional characteristics.
In a second control station, the compression force of the brushes is measured, in the nominal working conditions.
Dielectric strength tests, of the contacts between them and with respect to the brush holder body, are finally performed, according to different customer’s specifications.

- Complete quality control of the component in a single machine
- Integration of different technologies
- Maximum measurement accuracy, flexibility and speed of execution guaranteed by the optical measuring device for slip ring
- Test of the electrical characteristics performed according to customer's specifications
- Parallel multi-station operating mode, for cycle time optimization
Defined according to customer’s requirements
