DESCRIPTION
It consists of a standard machine with interchangeable fixtures. By simply replacing the fixture, it is possible to configure the machine for different part types.
Job change is very quick. The replacement of a fixture takes only a few minutes.
The rearlamp/headlamp to be measured is referred on the fixture in the RPS (Reference Points System) points, indicated by the car manufacturer and corresponding to the fixing points on the car body. The part is measured on the surface (flush points) and on the edge (gap points) by means of optical technology.
Flush points are measured using an accurate optical sensor, based on chromatic confocal technology. Gap points are measured by camera, with shadow casting technology. For this purpose, the fixture integrates a diffusive backlight to illuminate the part perimeter.
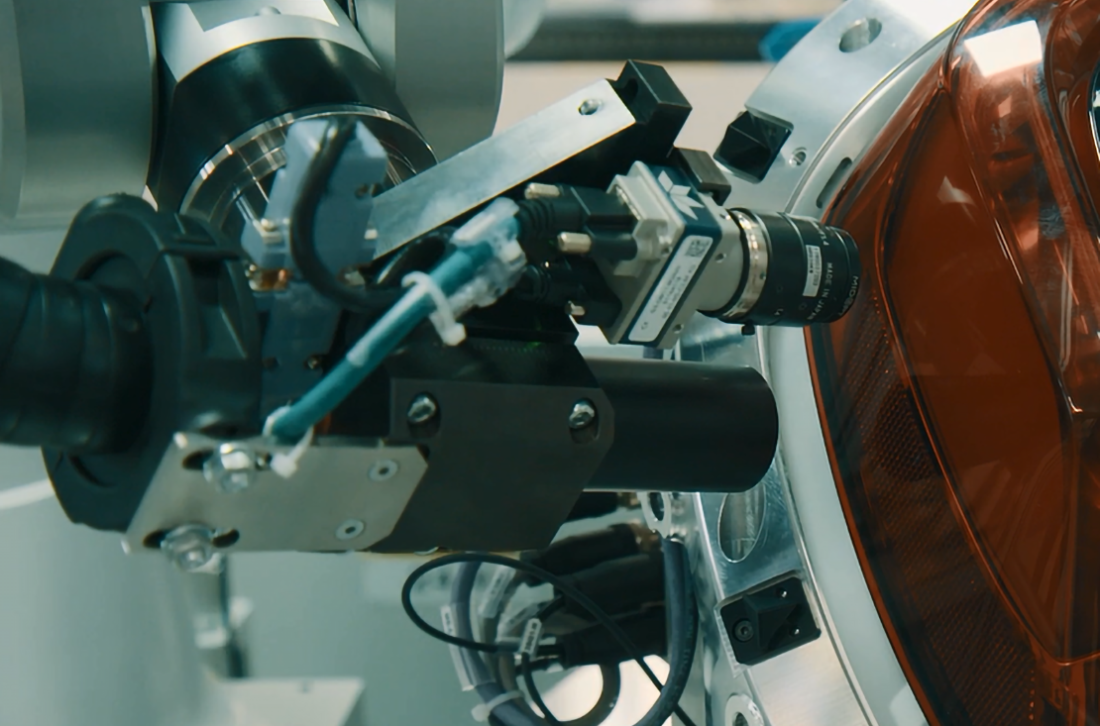
Both chromatic confocal sensor and camera are mounted on the arm of a 6 axis anthropomorphic robot, displacing them in front of the measuring points.
Measurements can be acquired in sequence, one point at a time, or by means of a continuous scan.
The trajectory of the robot can be easily programmed using G-code language.
The fixture is not only a support for the part to be measured. It’s a “smart” object. It integrates fiducials, used as reference points for the robot, and calibrated elements for a fine calibration of the robot trajectory. Based on the application, the fixture can also integrate traceability devices, for example a barcode reader, pneumatic or electric actuators, sensors and other electronic devices to communicate with the machine.
A user friendly software with graphic interface allows the operator to get an immediate overview on the measured part status.
BENEFITS
Flexibility
-
Standard machine + interchangeable fixtures dedicated to the part to be measured
-
Quick job change
-
Possibility to add measuring points, at any time, without mechanical modifications to the fixtures
Contactless technology
-
No contact with the part and no risk to scratch it
Cycle time
-
Reduced cycle time with respect to other robotized solutions using contact sensors
TECH SPECS
| Measurable parts overall dimensions | up to 600mm x 300mm x 300mm |
| Measurement time | Depends on the dimensions of the part and number/positions of the measuring points. Average scanning speed is 40mm/sec. |
| Measurements repeatability | ≤ +/- 0,015mm. |
| Measurements accuracy | ≤ +/- 0,03mm. |
Download
BROCHURES AND MANUALS
| Flyer | |
|---|---|
| English |
CAR LIGHTINGS: (861.22kB)
|
