Electro-Mechanical Actuator for Crankshaft Measurement on Grinder
e-FENAR™
In the field of crankshaft inspection, Fenar L system is the historical solution adopted to measure both main and pin journal diameters. Its mechanical configuration was designed in order to monitor the value of the diameter being processed. This solution enables modern crankshaft grinding machines to achieve the highest levels of flexibility and precision that make all the difference in today’s market.
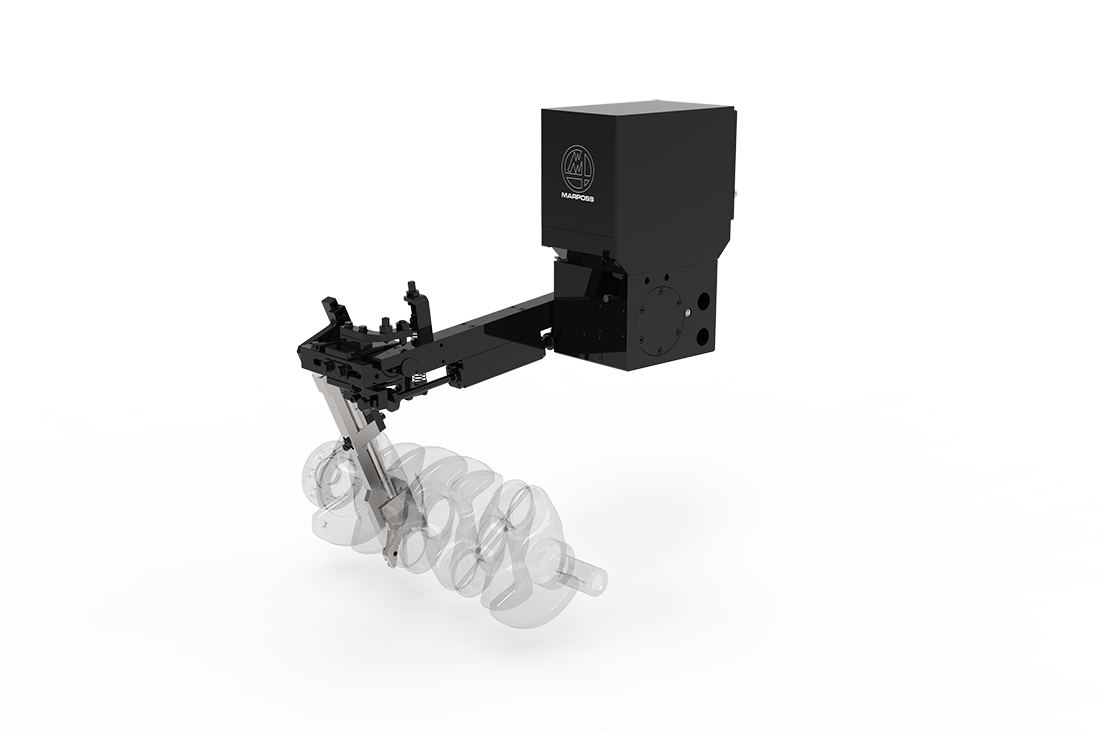
The newborn product that completes Marposs portfolio of actuators for orbital grinding machines is e-fenar. Unlike its predecessor, that still represents the reference on this market, actuation is entrusted to an electric motor, and not anymore to hydraulic. This involves a consistent number of new features, that make possible to optimize cycles in terms of productivity and provide the possibility to monitor the whole process, always keeping an eye on the environment.

e-Fenar is the most flexible and highest performing system to continuously monitor the part size for concentric and orbital grinding operations.
e-fenar, as Fenar L, is designed to be mounted directly on the grinding machine wheel carriages. It is equipped with a gauge that, during the measurement phase, is in direct contact with the work piece. The diameter measurement information is supplied in real time to the grinding machine, which is capable of managing the machining cycle until the desired part measurement value is achieved.
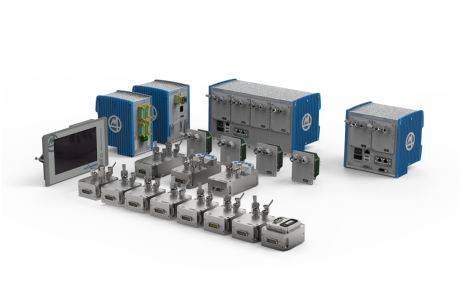
e-Fenar system can be commanded by BLÚ system or through machine I/O.
Main features
- Maximum measurement flexibility: thanks to the flexibility of the measurement heads, it is possible to process a wide variety of main journal and pin bearing diameters (up to 25 mm)
- Maximum wear compensation flexibility: e-Fenar can compensate for up to 10 mm of grinding wheel wear on the diameter, without the need for manual retooling
- Simple retooling: e-Fenar can be retooled in a few, short steps when it is necessary to modify the diameter measurement range
- Optimized speed introduction and retraction for cycle optimization
- Perfect synchronization between workpiece and gauge motion for smooth introduction and retraction.
- Maximum durability: thanks to the gauge seal rating, it is suitable for use in machining conditions that involve the presence of large volumes of coolant at high pressures. The device has been manufactured using materials that minimise the effects of the thermal variations caused by the coolant and/or interruptions in the machining process
- Maximum reliability: the design solutions and choice of materials are the result of many years of experience in the sector, and the hundreds of operating applications present on the market bear testament to the R&M project calculations.
- Roundness check (optional): it is also possible to check the roundness of the resulting diameter upon completion of the machining process. This option enables users to monitor how the shape of the machined part evolves in real time, and implement the necessary corrections while the process is still in progress, thus avoiding the need to carry out manual checks in the metrology lab (increased productivity)
- Diagnostic control
- Increased production quality (reduced rejects)
- High precision measurement
- High movement repeatability (operations not affected by boundary conditions)
- Cycle optimization
- Flexibility
- Highly reliable and robust
- Ease of retooling
- Grinding wheel compensation (increased productivity)
- Diagnostic control
- Excellent repeatability performances
- Excellent reliability
For all technical characteristics, please refer to the table in the DOWNLOAD section


