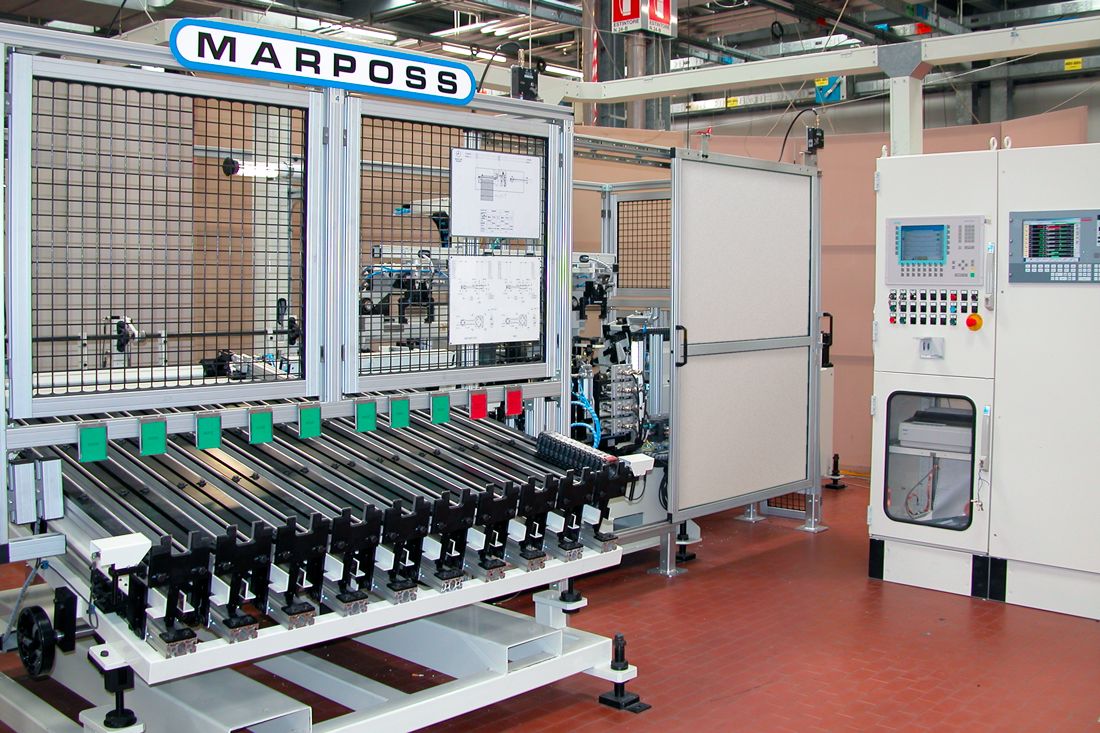
The M128 automatic gauge station is designed to measure gauges in any workshop environment.
It can perform dimensional, geometric, and weight measurements, in addition to this, it can be equipped with additional functions: like the selection and marking of all the connecting rods checked.
The M128 can check 100% of the entire production line.
It consists of:
- Conveyor
The connecting rods are moved in succession to the various machine stations with a parallelogram conveyor (lift and move principle). At the machine, infeed insertion units perform the correct orientation of the connecting rod for the measurement.
- Dimensional Gauge Station
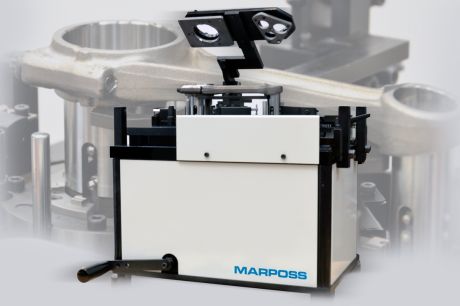
The gauge station usually consists of two plugs: one for the crank bore and one for the pin bore of the connecting rod. Each of these stations are fitted with 8 measuring cells in two different sections, plus a series of cells located on flat surfaces of the crank and pin bores.
The connecting rods are moved close to the measuring parts by the conveyor, for the typical measurements requested for these parts.
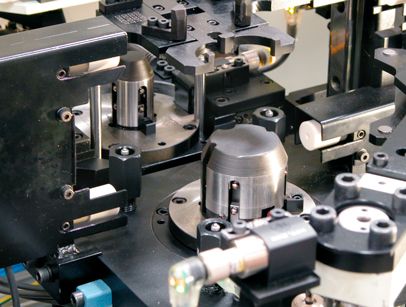
- Weighing station
The weighing station is designed to check and measure the weight of the crank bore along with the pin bore
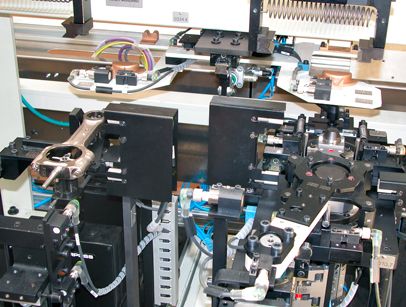
- Selecting device
It consists of a series of gravity chutes.
Each chute is associated to a part class or scrap cause (freely programmable) and slid. A motorized shuttle moves the connecting rods in line with the outfeed chute.
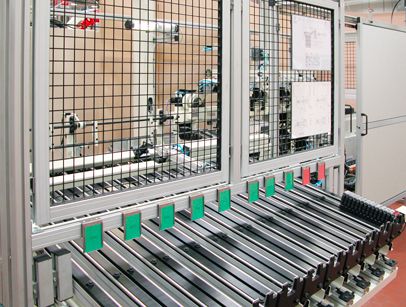
- Self-Calibration Device
M128 is fitted with a self-calibration device for the electric zero-setting of the dimensional measurements. It consists of an area where the zero masters are kept in a parked position.
The calibration function can be customised by the customer as shown in the examples below:
- Upon request;
- Programmed after "n" number of measuring cycles;
- Time;
- After changes in the environment temperatures.
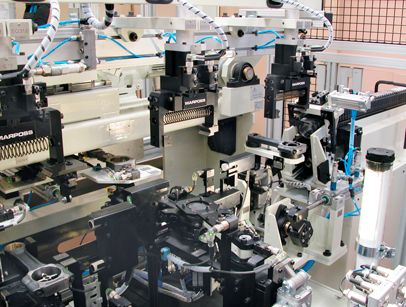
- Additional accessories for the M128 gauge station
The M128 automatic gauge system, can be integrated with the following accessory modules;
- Part type recognition unit;
- Pre-check unit that checks the correct machining of the crank bore and pin bore.
- Marking station (permanent or non-permanent marking);
- Chamfer presence check station;
- Lubrication bores presence check station;
- Chutes positioned in front of each station for the immediate exit of scrap parts.
- Probe unit for the instantaneous temperature control of the connecting rod
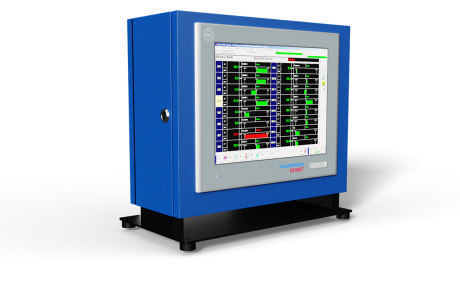
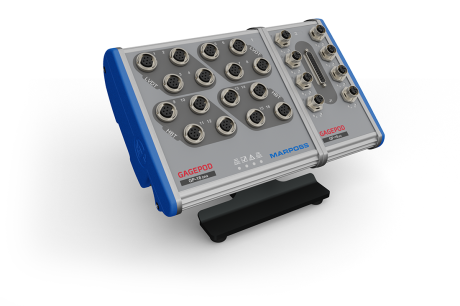
This equipment is used with E9066T industrial PC and GagePod system.
- Excellent quality to price ratio, guaranteed by complete industrialisation
- Extremely quick measurement cycle-times
- High measurement accuracy allows for the certification of high volume components like connecting rods
- Designed for any workshop environment
- Long-term reliability
The technical specifications, such as metrological and dimensional performance, are agreed on by the customer during the technical and sales negotiations, in order to find the best quality to price ratio, together.
BROCHURES AND MANUALS
| Brochure | |
|---|---|
| English |
M128: (281.50kB)
|
| Italian |
M128: (339.45kB)
|
