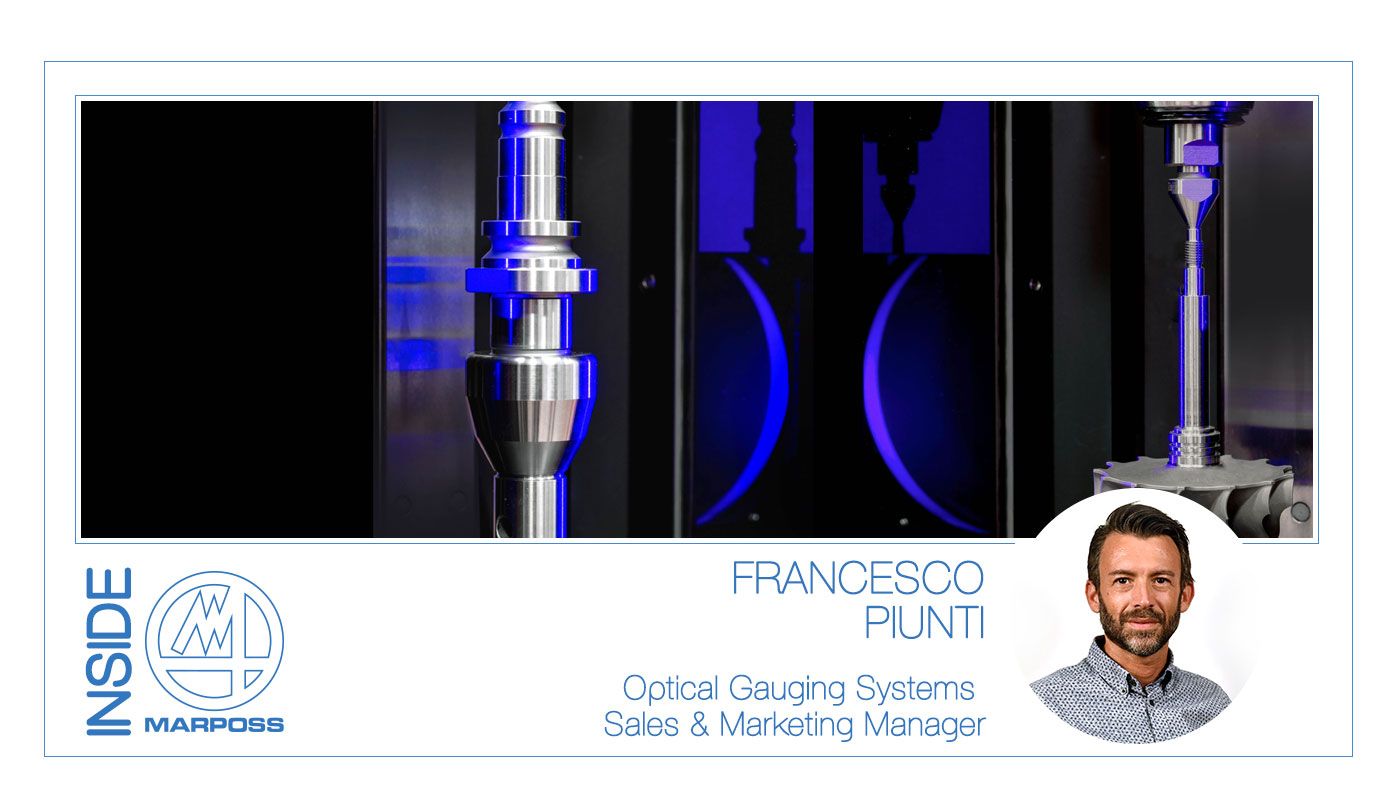
Unprecedented performance.
4.000 workpieces, controlled every single day.
This is the typical capability of one Optoflash unit integrated into an automatic line, for quality control of turned parts.
An high level of throughput as this one is not sustainable for a many measuring system, neither optical, while it is a normal rate for the Optoflash.
Why Optoflash in precision turneries?
In a landscape where large manufacturing OEMs need super-demanding time-to-market and large volumes in deliveries, those companies specialized in precision component manufacturing are quickly increasing their relevance.
For instance, precision turneries have become strategic partners for large OEM companies.
The great success of precision turneries is based on a mix of aspects, as the capability to immediately react to new production orders, to deliver large volumes from the start, to guarantee a predictable quality of the worpieces in deliver.
Being this trend intensive in the manufacturing industry, so it is clear the reason why the Optoflash is a successful solution for component suppliers, as precision turneries companies.
Measuring speed makes money.
The Optoflash is the only in the marketplace that implements a 2D optical architecture, a solution that eliminates the need for optical scanning of the part to measure, as instead necessary for traditional linear sensor systems.
The result of the 2D architecture is an unprecedented measuring speed: 10 seconds is the typical measurement cycle time of an Optoflash, for a total measurement execution on a workpiece.
Since the measuring speed is a pivotal parameter to dimension automatic control systems, the super-high measuring speed of the Optoflash immediately reflects into a smaller investment for quality control equipments.
Not only the measuring speed is the winning factor.
Moreover, the consistency of the measuring time is a crucial advantage of the Optoflash.
While for many optical systems a measuring cycle time is proportional to the number of measurements, for the Optoflash the measurement time is fixed and predictable since the part is completely acquired into each single image frame and image elaboration time has a tiny impact on total measuring time variability.
The throughput consistency simply eliminates the risk of productivity reduction for new part models. In addition the measurement setup for new parts is a fast operation on the Optoflash, since there is no need for fine-tuning to achieve the target cycle time.
Optical means flexible
In the business model of precision turneries, equipment flexibility is a must: production line must switch quickly from one part in production to a new one.
On the Optoflash, introducing a new part model into setup is actually an easy operation. The product integrates a measurement configuration environment, where operators can load the drawing of the workpiece and activate the required measurements through simple drag 'n drop operations.
It is sufficient a minimum training to the operator for an extensive control of the Optoflash functionalities and the full exploitation of product performance.
Discover more about Optoflash