Tool Setting and Geometric Checking on Machining Center
People working with milling machines and machining centers know about the problem of scrap parts being generated by broken or worn tools or tools which are not measured in the appropriate way. It is quite common that end users or operators are not provided with the correct instruments that detect the real tool dimensions during working cycles, fundamental information for the proper execution of production.
Auto Tool Setting before, during and after the machining process enables the possibility to automatically acquire the exact values of length and diameter of cutters and drills. Tool Setters measure tools inside the machine working areas, thus in the real machining conditions. In this way tool check becomes more meaningful and faster than pre-setting outside the machine.
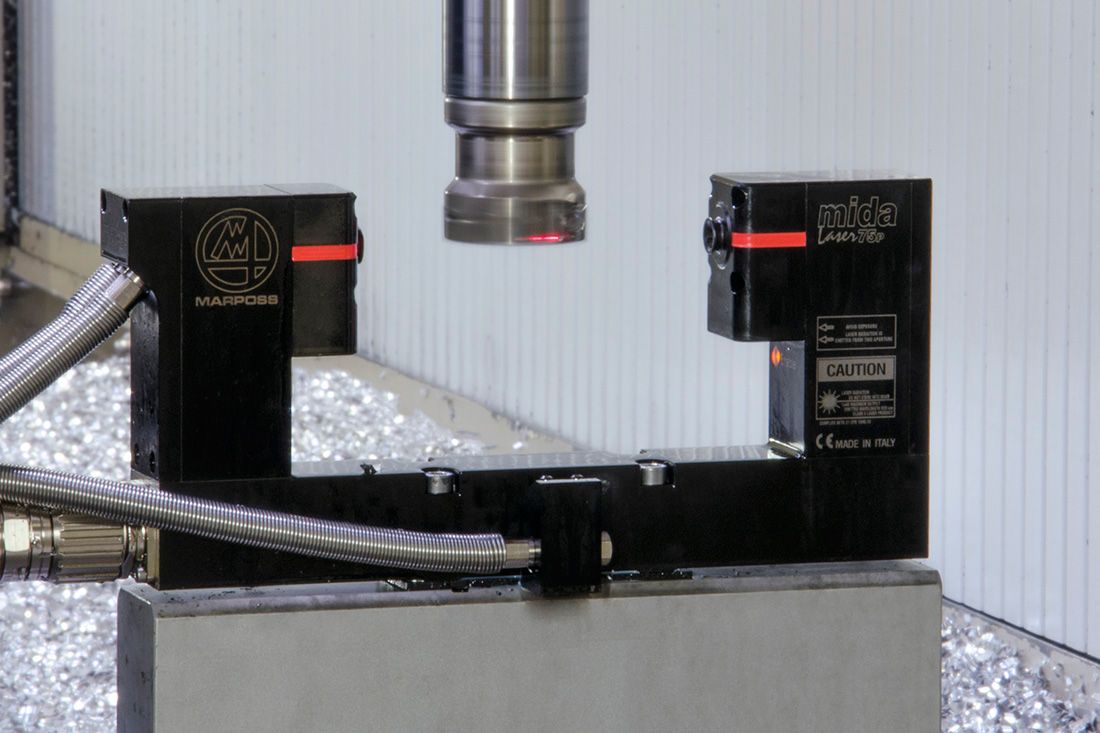
Tool setters enables two fundamental measurement phases: the presetting and tool verification.
Thanks to the presetting phase, tools are measured on machine before starting the machining process, such that the axis movements provide real dimensions and not theoretical ones used in the tool dimension calculations. Furthermore, it is possible to detect and compensate run-out errors, due to wrong clamping of tools in the spindle.
Tool verification allows to detect cutters and drills wear or breakage between different processes, in order to keep cutting quality under control. Moreover, it compensates for thermal drift, which can influence the tool length.
- Increase of production quality
- Constant level of production quality
- Time-saving in comparison with external or manual tool check
- Increase of machine productivity
- More accurate measurements, as they are performed in the real working conditions
- Possibility to check the tools between one working phase and another
- Automatic acquisition of measured values and tool table update
- Facilitation of operator’s activities
- Elimination of mistakes due to manual input of measurement values on CNC
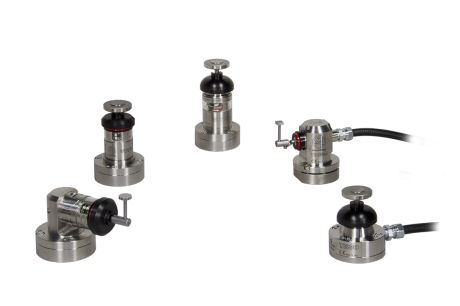
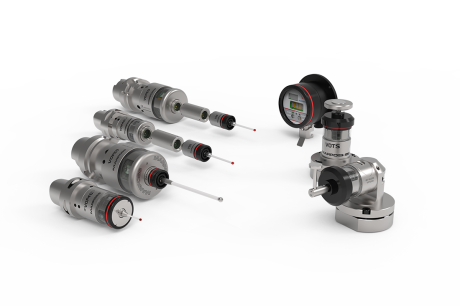
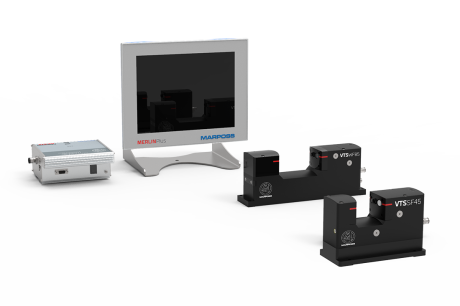
Marposs proposes a wide variety of tool setters, which cover the most different application requirements:
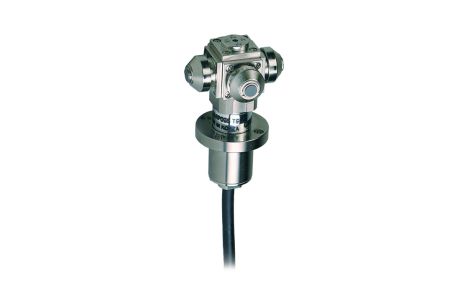
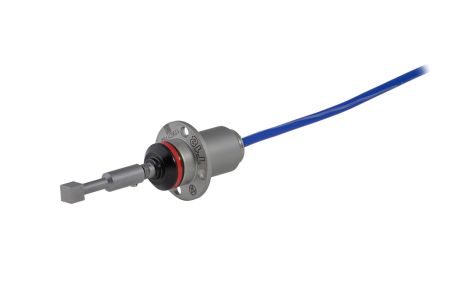
- Contact Tool setting, both wireless and wired applications, allowing measures of static or rotating tool, of at least 1 mm diameter. It is possible to realize presetting operations to obtain diameter and length values and integrity check
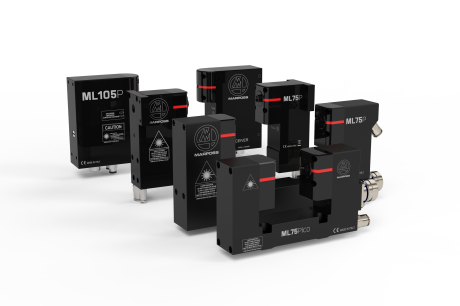
- Non-contact Tool Setting, in case you want to measure tools smaller than 1 mm and / or more complex measurements are necessary (e.g. run out, integrity check of cutter profiles)
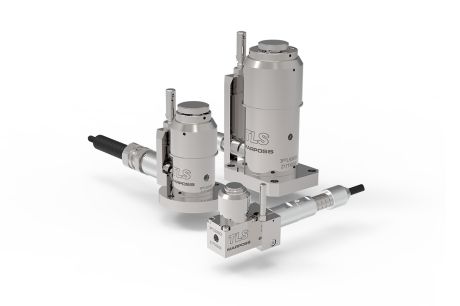
- Vision Tool Setting, ideal for micro-tools and applications requiring extraordinary metrological performances (measurement accuracy less than 2 microns)
Marposs also develops measurement software cycles for every tool setter type and machine configuration.
