Thickness measurement of the enamel coating on magnet wire
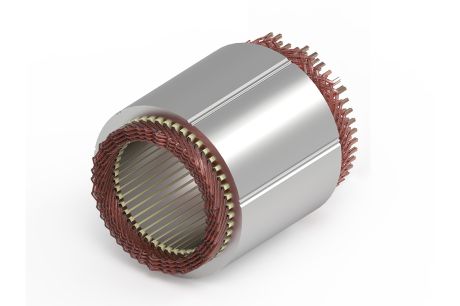
Several researches showed that there are significant advantages in using flat wire hairpin windings in some types of motors. The advantage is a much higher copper slot fill factor reducing heat and improving torque and power density, which ultimately can reduce the motor size for EV application.
However, in order to obtain this performance improvement, it is necessary to guarantee an adequate quality level of the component and that its production process is perfectly under control.
Measurement of the thickness of the insulating enamel is one of the critical parameters in the production of enamelled wire. The constancy and uniformity of this thickness is in fact related not only to the quality and effectiveness of the electrical insulation, but can also influence the subsequent bending process in the production of the hairpin.

Chromatic confocal technology is able to measure the thickness of the enamel coating on magnet wires, when the coating is transparent to the white light (as it normally is).For opaque coatings (not transparent to the white light), IR interferometric sensors can be used as an option to perform the same measurement.
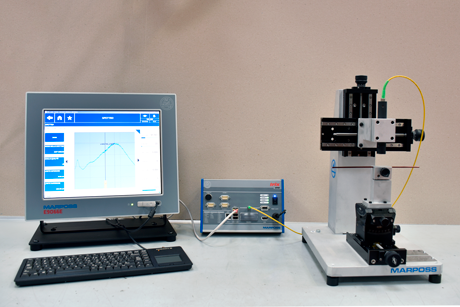
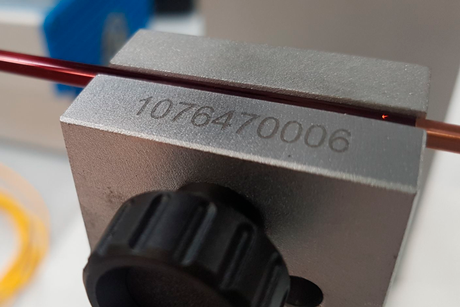
One single confocal sensor assembled into a dedicated gauging tool can be used for laboratory analysis, with off-line measurement of the enamel thickness on samples of the wire taken from production. The enamel coating operation is usually a slow trend process and it can be controlled through a periodical off-line check of samples.
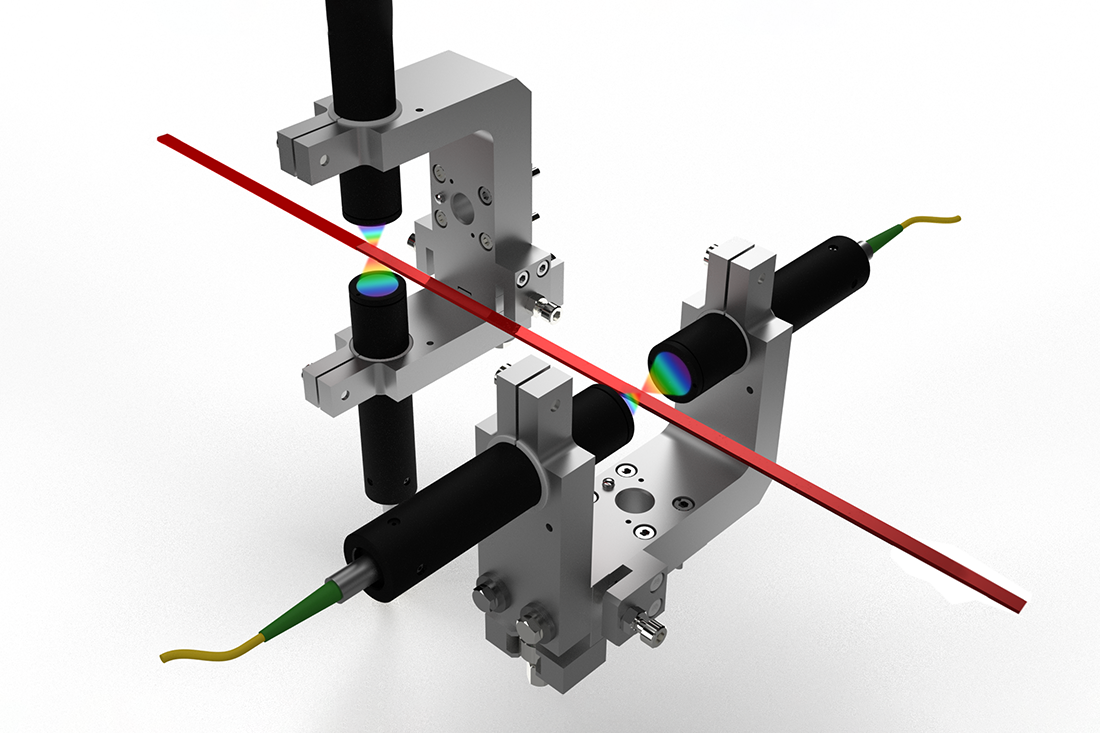
In-line sensors can be integrated for continuous control during production. A "fork" configuration, with two facing sensors, allows continuous measurements of the thickness of the enamel on two opposite faces, together with the total thickness of the wire. Two forks positioned at 90° can be used to measure all 4 faces of the enamelled wire.
A similar technology can also be used to check the quality of the wire in a subsequent operation in the production of hairpins, that of stripping of the hairpin terminals. In laser ablation operations, it can instead occur that a thin layer of enamel is left in some specific areas, depending on the number and orientation of the laser heads. In this case the use of interferometric technology allows to measure the amount of residual enamel, starting from thicknesses of a few microns.
White light interferometer can be used in an off-line measuring stations, to carry out a sample check of the laser removal process of the enamel. When the location where the residual enamel concentrates is known, the same technology can be integrated in-line for 100% process control.


In other cases, it may eventually be necessary to inspect the entire cleaned surface, looking for defects and contaminants such as laser-charred enamel residues. The use of STIL confocal technology, applied in linear optical sensors with the MPLS family, guarantees a high field of focus and therefore allows to perform an in-line analysis of the entire stripped area, and to identify different types of defects.
- Complete dimensional measurement of the flat wire (two main dimensions and thickness coating on the four faces)
- Non contact gauging technology
- Control of the enamel coating process
- Prevention of issues due to out of control springback after hairpin bending
- Measurement of enamel thickness with confocal sensors
- Measurement of the enamel thickness with IR interferometer (for opaque coatings, not transparent to the withe light)
- Measurement of the residual enamel thickness with white light interferometer
- Confocal optical line sensors MPLS for inspection of defects in the stripped area
- Possible integration of multiple technologies in the same gauging station
Defined according to customer’s requirements.
