The T-series offers the best match in the inspection of simple geometries and guarantees the best results against false triggering, which is typically caused by the machine vibrations or high speed movements. The T-series also has an impressive repeatability, preforming 0,5 micron on unidirectional measurements. The robustness against false triggering is achieved through an essential pre-travel. The pre-travel makes these probes perfect for the hard metal cutting process, but not useful for inclined surface measurements; this type of probe needs to be calibrated along main machine axes.
The TT-series uses a tripod design, based on 3 contacts. This configuration allows the TT-series to be more prompt than its predecessor at giving a trigger signal when the stylus ball touches the work piece; this characteristic allows the probe to measure inclined surfaces. Since the tripod mechanics doesn’t have the same pre-travel in each direction, it needs to be calibrated along measurement directions. Repeatability is 1 micron, good enough for most of the cutting processes.

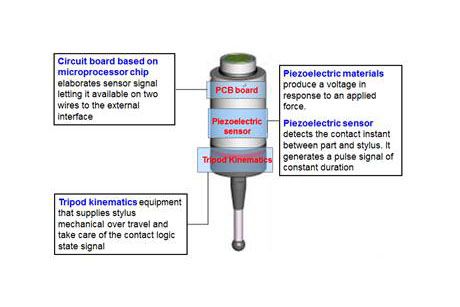
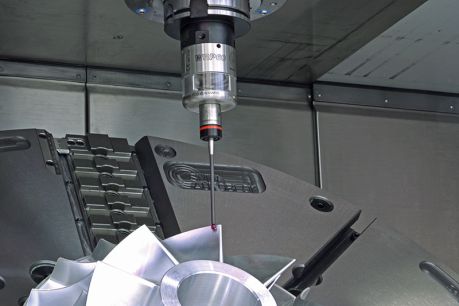
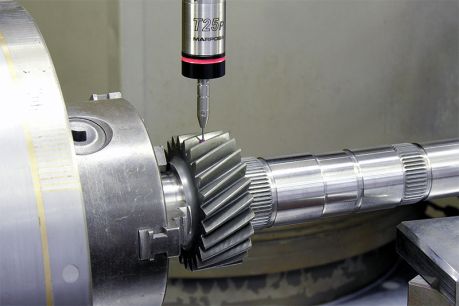
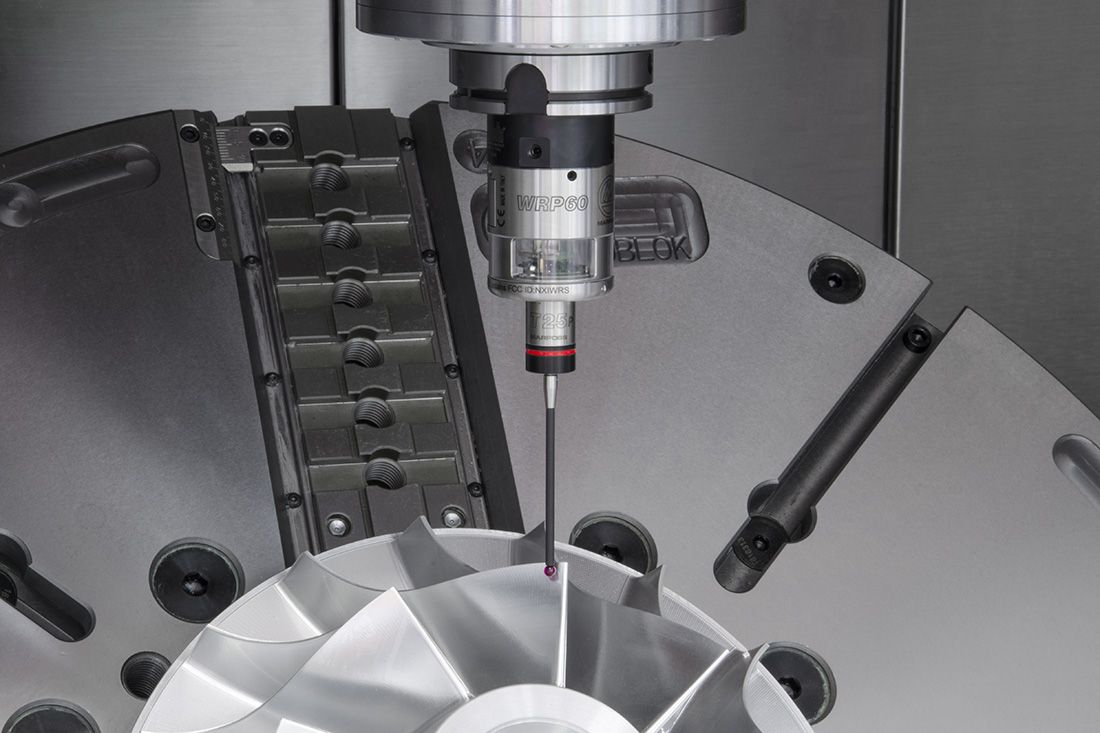
T25P, VOP40P, and WRP45P/60P are the latest series of probes that use an innovative system to detect contact with the work-piece. When the stylus ball is placed in contact with a surface, a piezoelectric sensor generates a signal proportional to the dynamic force used to deflect the stylus. This allows the probe to run measurement cycles at high feed rates; making these probes the most suitable for fast probing, in mass production.
Another important characteristic of this technology is the null pre-travel. This means that the point measured is exactly the first point of contact. Repeatability of 0,25 micron suggests to adopt this type of probe for the most accurate parts in production, such as dies, molds, jewelery, medical, and aerospace.
Marposs touch probes are used in machine tools to automatically manage the work piece set up, origin, alignment, and to inspect the part after cutting.
The working principle is quite simple. A stylus with a ball at the top is used to touch a part. When the ball touches the part, the probe travels a small amount before it gives a signal; this amount is called the probe pre-travel.
The probes are mainly divided into three macro groups that are in accordance with their target application fields:
- Simple, cubical, or cylindrical part measurement taken mostly parallel to the machine axes
- Inclinated surface inspection
- 3D shaped part inspection (i.e. spherical shapes)
The mechanical design and mechanics of the micro switch guarantee the best performance in its application sector.
Application example:


