Machine vision offers many powerful and effective solutions for noncontact inspection in a wide range of products and processes. For the most part, visual inspection tasks are performed by human operators allowing flexibility. The down sides of human visual inspection are well known. Human sight cannot ensure reliability, repeatability, and is slower than a machine-executed inspection when it comes to long repetitive tasks. This is why machine vision is crucial for quality production: it can offer reliability and repeatability during various inspection processes, it is fast and objective, thus surpassing human limits.
Machine Vision, in its primary definition, is the ability for a computer to “see.” It can be defined as the science that aims to give basic senses to machines, in order to visualize the world, as humans do. Machine Vision focuses on the automatic extraction and analysis of information from multiple images. It is not just a single technology, rather an integration of several hardware and software, from different sectors: electromagnetism, semiconductor industry, robotics, information theory, and artificial intelligence.
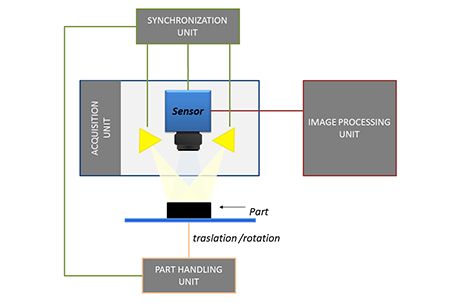
A Machine Vision system consists of four main components:
- Acquisition Unit (Sensors & Lighting)
- Handling Unit
- Synchronization Unit
- Image Processing Unit

Marposs uses the most advanced sensors and lighting systems in order to obtain a higher quality image every time. This may also include operating outside the visible spectrum (e.g. infrared or ultraviolet), when challenging applications need it.
Flexible handling units are used to ensure complete coverage, including parts with a complex geometry, keeping a low cycle time. However, all devices must be perfectly synchronized to get a fast, reliable, and repeatable inspection. The Image Processing Unit (IPM) is based on a multi-core and multi-processor architecture in order to have parallelization of time-consuming elaborations in real time. Within the IPM, raw image data is transformed into high level features with the aim of computing numerical measurements, or making control process decisions.
For a Machine Vision system to work as expected, it needs to follow some decision rules. When these rules change (e.g. because of changes in the industrial process), the system will need to change as well. With this in mind, Marposs uses modern machine learning techniques to “transfer” human knowledge into the machine and give it flexibility in the inspection process. A collaboration between the human supervisor and the machine is then established, putting together human knowledge with machine repeatability creating consistency.
Surface cosmetic inspection
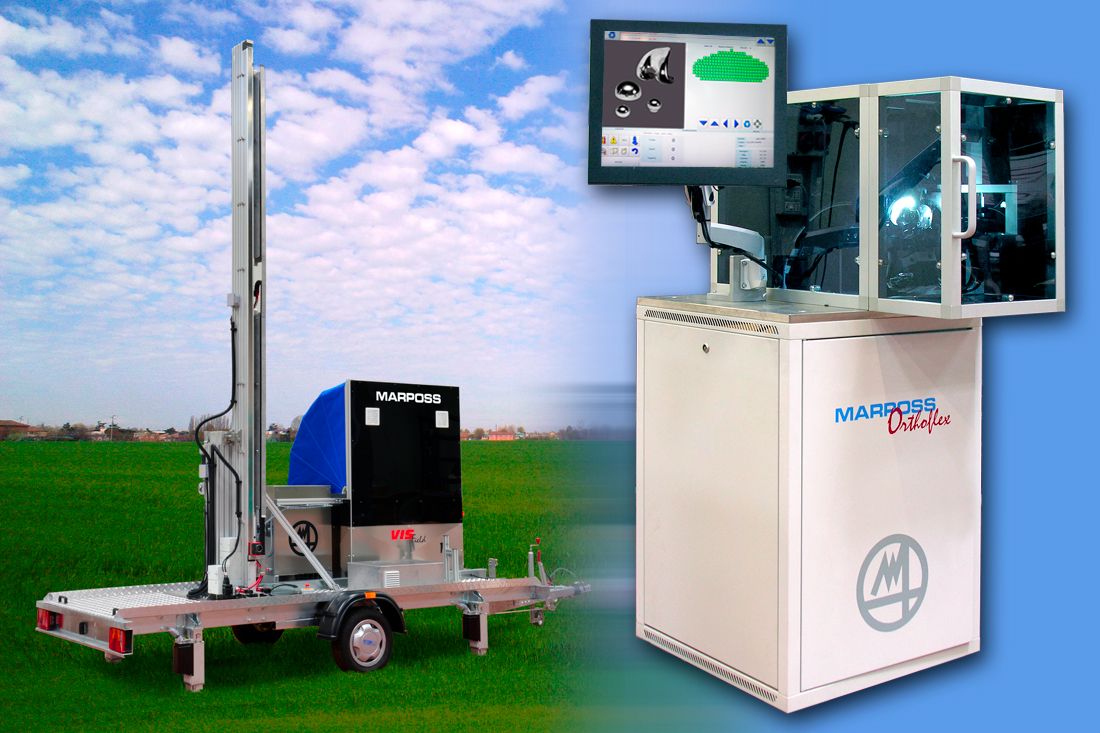
The cosmetic inspection machines from Marposs are equipped with flexible lighting systems, high-resolution cameras, and handling equipment to efficiently inspect objects in addition to machined parts. These systems are able to detect and categorize different classes of defects on the object’s surface.
The main complication with this application is the configuration regarding inspection rules, which depends on the required degree of quality in the inspection process. Marposs counters this issue by focusing on advanced defect detection and texture analysis systems; based on new algorithmic techniques. Thus, exploiting the user’s inputs and feedbacks to guarantee a simplified, rapid system configuration, for several kinds of inspection.
Glass container inspection
The glass container inspection system by Marposs uses a high-resolution CCD sensor and telecentric lenses, coupled with a collimated light source to obtain a back illumination of the object. During the inspection process, the glass container inspection system performs dimensional and geometrical controls for containers of various sizes, shapes, and colors.
Solar power panels inspection
Marposs solar power panel inspection systems include verification of the shape of parabolic mirrors in the manufacturing environments. This covers the verification along with the adjustment of the mutual alignment between linear parabolic mirrors and receiver during the installation stage and periodic maintenance activity. The working principle involves illuminating the mirror and scanning it with a camera. This is done to find any deviations within the shape and the alignment.
