Check Of Pouch Cell Welding
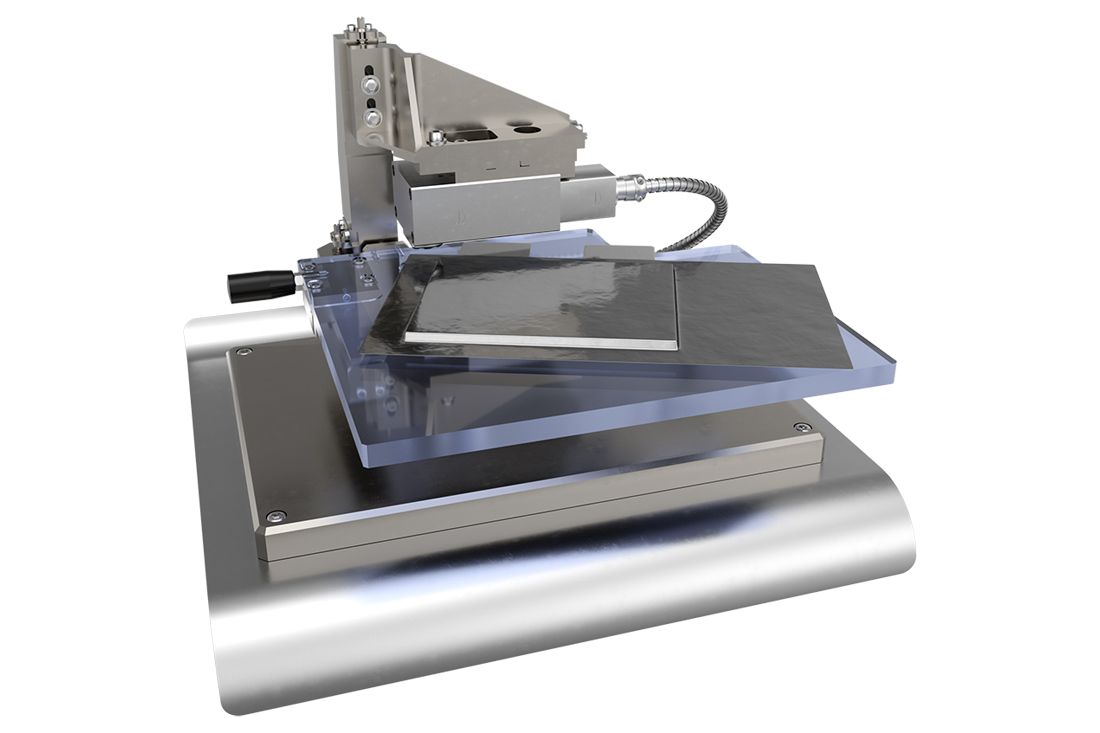
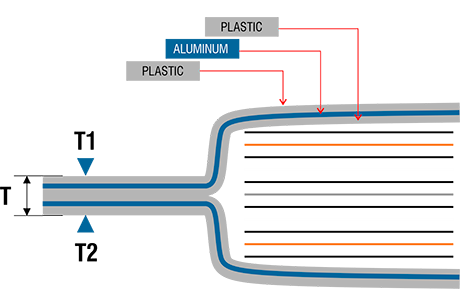
The sealing process of pouch battery cells is normally carried out by means of impulse or contact welding (heating sealers) which produces the fusion of the plastic layers that make up the external part of the multi-layer films used to manufacture the housing for these types of cells.
Compliance with the thickness tolerance of the welding joint is a significant indicator of the quality of the seal, a fundamental characteristic therefore in order to guarantee the perfect tightness of the cell.
The thickness check must be performed strictly within the production line, immediately after welding, when the plastic material is still soft. The measurement must therefore be carried out with non-contact technologies

The use of interferometric sensors represents the best solution to perform in-line measurement of the thickness of the welding seam on pouch battery cells.
Different non-contact technologies could be used to carry out this measurement in laboratory conditions, but the situation is definitely more complex for a real in-line application, due to the presence of the soft and transparent plastic layers on the external faces of the weld and to the rough positioning of the pouch cell in the line.
Marposs interferometric technology is able to guarantee the maximum accuracy of this measurement, even for thin external plastic layers, and a wide measuring field for the sensors, while at the same time, able to cover the thickness variations due to the presence of the tabs in parts of the welding seam.
The use of a snap with two interferometric sensors allows for simultaneous measurement of the total thickness of the welding seam and the thickness of the two external plastic layers.

Special gauging applications can be proposed to measure the thickness in multiple positions, or to fully scan the welding seam along the complete perimeter of the pouch cell.
- Non-contact technology, for measurement of soft material
- Capability to measure, for thickness of the plastic layers starting from 10 µm
- Wide measuring range for real in-line applications
- High sensitivity and accuracy
- Possibility to supply measuring snap or complete gauging equipment
- Available statistic elaboration and data transfer with Quick-SPC software option
- Measuring field 900/1.800 µm (for each sensor)
- Measured plastic layers starting from 10/25 µm
- Repeatability range for total thickness within 1 µm in real application
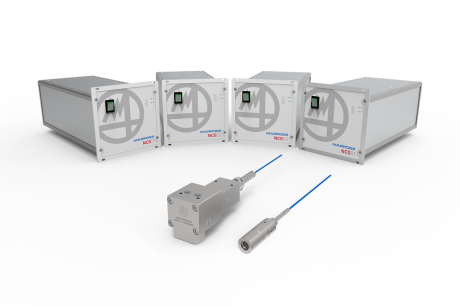
- Basic configuration with n° 1 measuring snap composed by n° 2 interferometric sensors and NCG controllers
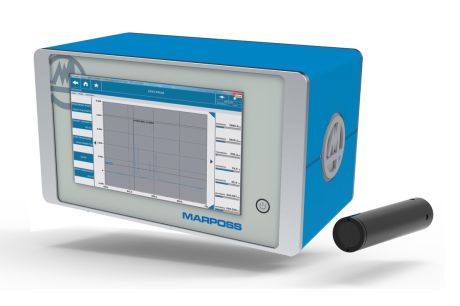
- Optional E9066 industrial pc with QSPC software, for measurement elaboration, statistic elaboration and data transfer
- Possible customized gauging solutions for measurement in multiple positions
BROCHURES AND MANUALS
| Flyer | |
|---|---|
| English |
CHECK OF POUCH CELL WELDING: (554.44kB)
|
| Japanese |
CHECK OF POUCH CELL WELDING: (332.02kB)
|
| Korean |
CHECK OF POUCH CELL WELDING: (689.81kB)
|

