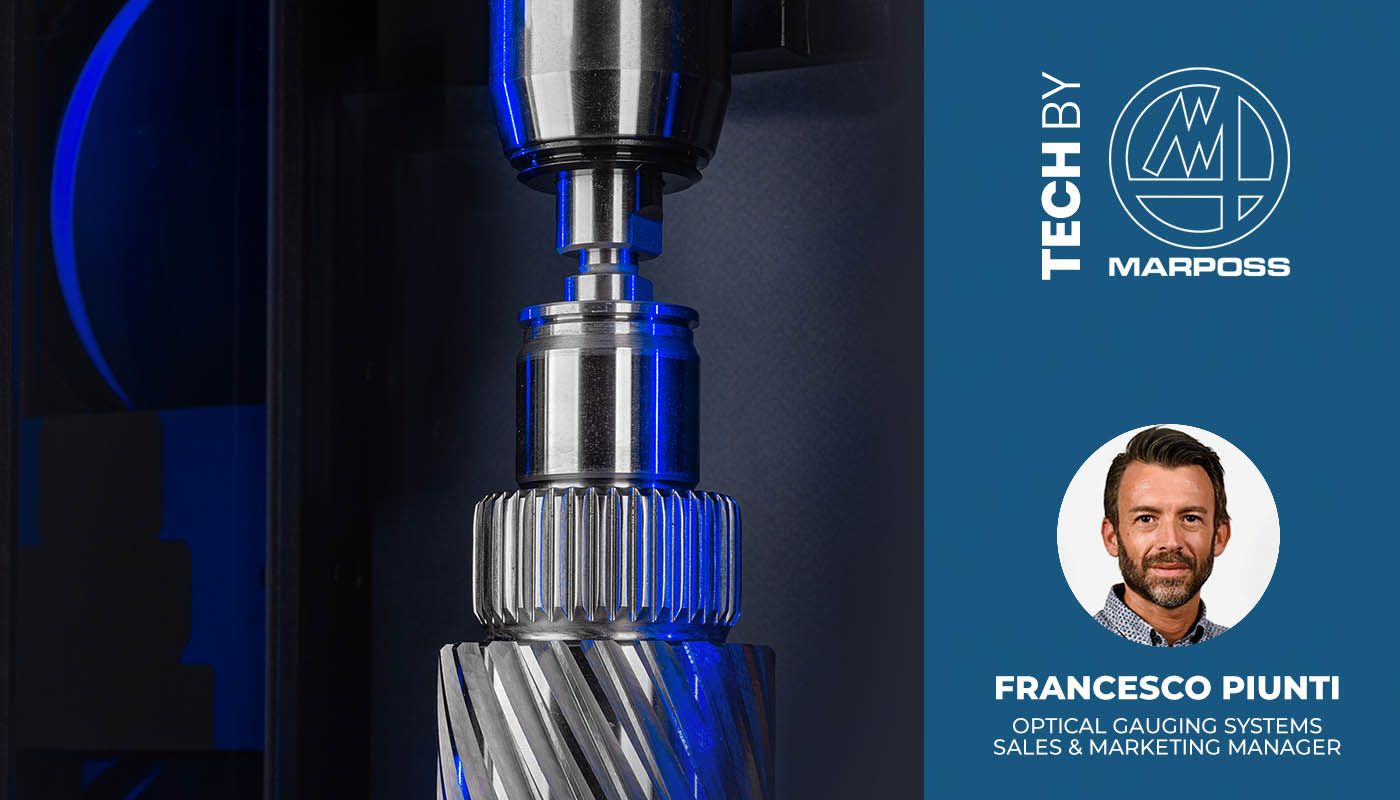
Optical measurement meets the challenges of electromobility

The transition to E-Mobility is a major technological change, both for car users and for manufacturers. For the latter, the electric motor means new production lines and new quality control systems.
Marposs Group has a successful history of more than 70 years in the field of quality control for the automotive industry. For Marposs, too, electric mobility has been the driving force behind the introduction of new measurement technologies, necessary to meet the new needs of the automotive industry. The traditional product lines, which are still very successful, are now complemented by new applications of optical technology dedicated to the components of the electric drive unit.
Today, optical gauges are the preferred quality control solution for electric vehicle manufacturers and their component suppliers. All vehicle manufacturers are accelerating their development activities in order to enter the market as quickly as possible with various solutions. As a result, the distance between the R&D phases and the production launch is shrinking, which makes it increasingly necessary to control components in the phases where they are continuously revised and updated. For this reason, the flexibility of optical gauges is a crucial asset, as they can measure components of different shapes and sizes with very short cycle times.
Optical inspections are based on the acquisition of images of the component to be inspected. Software algorithms automatically analyze the images, combine them and reconstruct the component geometry. The next steps are feature measurement and quality control.
Marposs has concentrated the development activities of new application solutions dedicated to dimensional measurement and inspection at the Bentivoglio headquarters, where it already had transversal competences on various technologies that can be used for this purpose.
For example, the Optoquick precision measurement solution, initially developed for the quality control of traditional automotive components, has been enriched with new sensors and software functions to measure even electric car components such as rotors.
The application capability of optical gauges is experiencing an unprecedented improvement, as it exploits the synergy between the evolution of image sensors and software algorithms. The process of evolution in optical technology is very fast: only a few years ago, precision systems were based solely on linear image sensors. Today, the technology also provides two-dimensional image sensors that allow the profile of the component to be measured to be captured in one go, thus improving the performance and speed of the inspection cycles.
However, the introduction of 2D sensors was only one step in an unstoppable evolutionary process: the next step was to extend the capability from 2D to 3D, which is now possible thanks to optical laser triangulation sensors. These sensors can reconstruct the 3D geometry of a component by detecting the 3D position of each point on the visible surface of the part and then reconstructing it with a point cloud.
Optical measurement using 3D sensors is particularly suitable for performing more complex controls, such as, in the case of electromobility, those related to dimensional control and inspection of the assembled stator, before or after the twisting operations and subsequent welding of the ends of the hairpins.
In this case, it is necessary to carry out a very high number of controls, such as the measurement of the angular position and the relative distance between all the hairpin terminals, necessary not only for the qualitative validation of the stator but also for the correct control of its assembly process.
The new Optocloud product line uses acquisitions from different laser profilers that are recombined through an appropriate calibration process to reconstruct a coherent point cloud on which all the required measurements can then be performed. The 3D image of the point cloud allows not only to perform accurate dimensional measurements but also to perform qualitative checks on the shape and geometry of the weld meniscus or on the presence of tears in the protruding part of the insulation paper.