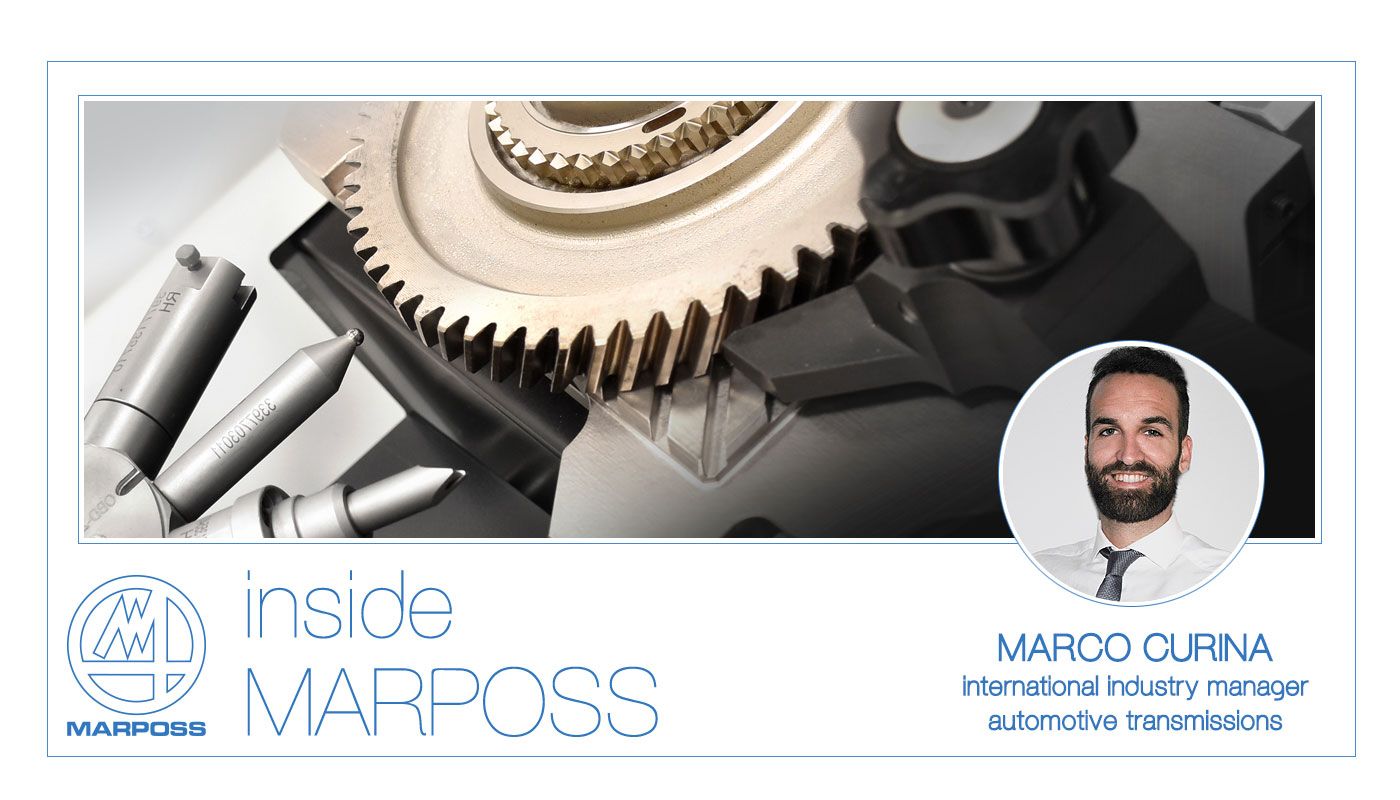
The electrification of conventional powertrains and the development of new electric drive units is involving also the gear manufacturing. Electrified transmissions are in fact subject to several challenges and requirements. What is true is that the number of gear wheels is significantly reduced in electric vehicles, due to the use of one or two-speed reducers instead of the classic manual or twin-clutch gearboxes. In return, the quality of these gears must become greater than at present. Therefore, the need to build up knowledge and experience in the field of gear inspection is paramount more than in the past.
Marposs offers a very wide range of solutions and applications for gear inspection by relying on decades of experience in this field. By providing sensors for machine monitoring, off-the-shelf solutions and complex customized applications, Marposs is positioned as the perfect partner to help keeping the whole gear manufacturing process under control.
M62 FLEX: Flexible Gauging for Gear Inspection
M62 Flex is one of the gear measuring instruments that Marposs is promoting to fit these requirements. It’s a standalone manual use bench gauge for the inspection of some the most traditional toothing parameters of gears: DOB (MdK), Root Diameter and Tip Diameter.
It is provided with two multiple contact turrets that can hold up to six different contacts each, which gives the chance to measure different gears and different features with no need to mechanically retool the gauge.
The use of electric driven actuators makes it a flexible system, in a moment when flexibility has become a must. Provided with highly precise tools and a robust design, M62 Flex is the most appropriate system to monitor the quality of a gear soon after the most crucial machining operations like hobbing, shaving and teeth grinding.
The system can be installed in the shop floor close to the machine (i.e. a grinding machine) in order to have a quick feedback on the result of the machining operation.
It represent the most suitable solution for those Tier manufacturers that have to deal with a huge variety of gears, even for different market segments: automotive, industrial, dental.
The gear manufacturing process under control
The use of the M62 Flex into the production environment helps to speed up the quality control process, especially in case of high volume production.
The benefit of having in place a very quick measuring instrument next to the machine prevents the accumulation of parts to be measured in the laboratory, often resulting in a not negligible waste of time. Further, the use of a soft-landing technology prevents the risk of damages and marks on not-hardened parts, traditionally a problem much felt by the sector.
M62 Flex has the ability to inspect multiple gears having external diameter within the range of 30 - 180 mm, both spur and helical gears, with even or odd number of teeth.
The system is provided with a guided interface that drives the operator through the very few measuring steps. So the operator just has to load the gear on the gauge and follow the instructions on the screen. Moreover he can any time rely on Marposs worldwide presence that always ensures a proper and expert assistance within the shortest possible time.
M62 Flex’s Benefits in Brief
- Range of applicability. The use of moving coil actuators gives the possibility to measure, in one gauge, gears with external diameter in the range of 30 ÷ 180 mm without any mechanical retooling nor additional components.
- Soft-land Technology. The use of an appropriate software allows the measuring groups to approach the surface of the teeth with a controlled low force while monitoring their position error. This is identified as the proper solution to avoid damages and marks on parts.
- Ease of use. The system is extremely easy to use and provided of a guided interface that makes operation of the automated system very simple and intuitive.
- Precision and accuracy. M62 Flex becomes part of Marposs family of gear measuring instruments, for which accurate standards of metrological quality have been defined to meet the level of precision required for the most demanding applications in the transmission sector.
- Pricing. Despite the high quality and precision, the M62 Flex comes to the market with a very competitive price.
Guarantee by Marposs
Based on several years of experience, Marposs has defined accurate standards for the metrological quality of their gear measuring instruments, that nowadays represent the state of the art for the evaluation of the gear product, being compliant with the most important international standard regulations (DIN, ISO, AGMA).
Before getting into the customer’s hands, every gauging equipment is tested at Marposs facilities and a certification of compliance is provided along with the system.