Hard Turning and Measuring With Only One Aim: Better Than 1 μm

REQUIREMENT
To produce workpieces in automatic continuous operation keeping workpiece tolerances under micron and ensuring not only production quality but also documentation and traceability of the parts.
Specifically the task is to measure the taper of the tool holder diametrically at two points and the associated flat. For the taper and the measurements equally, the permitted tolerance is ±2 μm. In addition, the bore is measured diametrically, the clamping shoulder on the inside and the groove depth. The zero point is set before the process.

APPLICATION
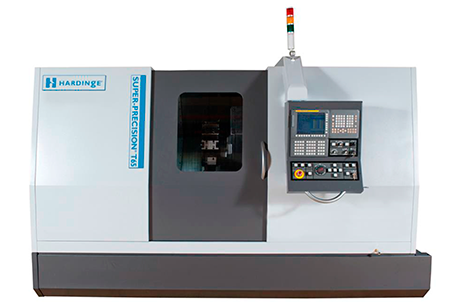
Alsto Präzisionsspannwerkzeuge GmbH is located in Burladingen near Tübingen and has been manufacturing customer-specific tool holding fixtures with highest precision for 14 years. In addition to HSK and SK collet chucks, milling arbors, shrink chucks and Weldon holders, the product range also includes clamping nuts and tightening bolts. Alsto uses hard turning as the final machining process for the clamping tools. Accordingly, the demands on the accuracy of the machining are high. From the very beginning, Hardinge hard turning machines have been in use here. For the latest acquisition, the choice fell on a T65SP MSY, which produces in tolerance class IT 4, the standard for high-precision hard turning machines at Hardinge for several years.
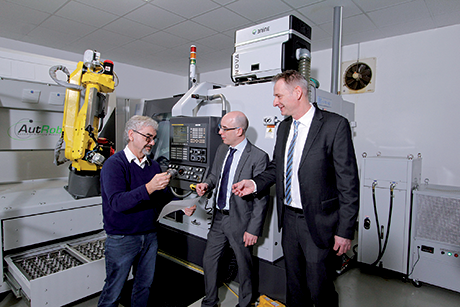
In addition to high-precision production, the new machine at Alsto also has to supply various workpiece-specific measurement data and document them. For this kind of task, Hardinge uses measuring technology from Marposs. The VOP40p measuring probe is standard equipment in many machines and is also now in use at Alsto. Furthermore, both companies develop joint solutions for customer-specific measuring tasks. Thanks to the proven good cooperation, the high expectations that Alsto’s managing director Alber had of the new machine have been fulfilled.
The required very high repetition accuracy of the system can only be achieved if all components are optimally matched and the interfaces are clearly defined. Thanks to the constant contact and exchange between Alsto, Hardinge and Marposs, it was finally possible to verify a repeatability of one ‘muggaseggele’ for the entire system. The Swabian expression for “very small” describes in this case a repeatability of 0.7 μm.
Hard turning as a substitute for grinding
Markus Günschmann, Product and Sales Manager Turning at Hardinge, explains: “Our machines achieve a standard accuracy that allows our customers to use hard turning as a substitute for grinding. This includes all geometric tolerances as well as the shape and position tolerances and the required surface qualities. This brings advantages in terms of machining speed and leads to a significant reduction in cycle times due to fewer machining steps overall. Advantages are also evident in chip and coolant management and not least in the acquisition costs”.
The Hardinge CNC lathes of the T-series are predestined for high-precision hard machining. Various processes for the production of complex workpieces are possible with just one clamping. The T65SP MSY used by Alsto with its cooled main spindle achieves speeds of up to 4,000 rpm, the spindle runs with a concentricity accuracy of less than 0.7 μm and the repeatability of the axes is 0.76 μm.

SOLUTION
The measurement technology solution
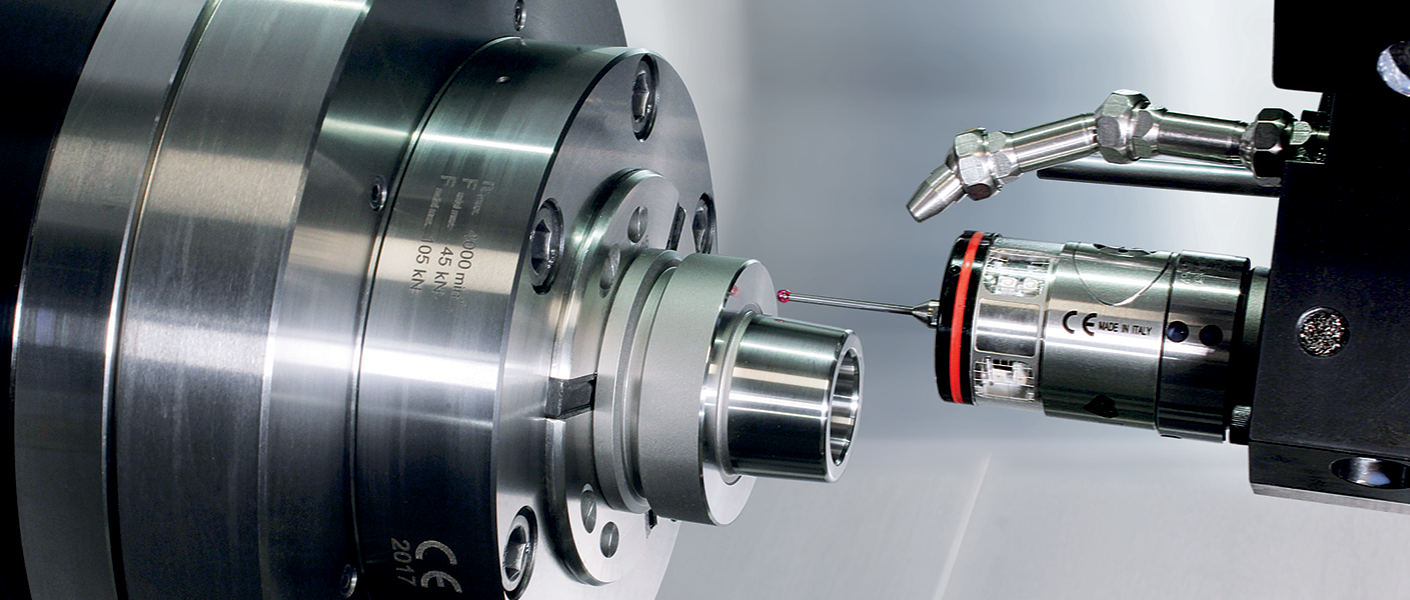
Due to the high process requirements, Alsto uses the high-precision VOP40p touch probe with optical signal transmission. It automatically detects the machine’s axis position and thus supports workpiece positioning and precise workpiece measurement. The associated software allows the immediate correction of deviations caused by tool wear.
Process reliability with the CNC Probing Recorder
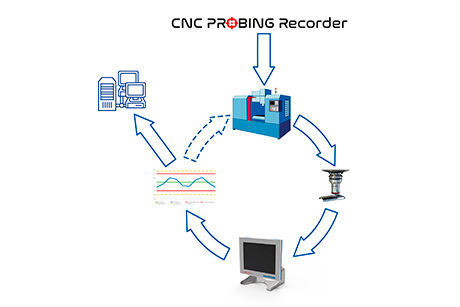
The ‘CNC Probing Recorder’ software documents all values measured in the machine. It is connected to the CNC control via an Ethernet interface and assigns the measured values including upper and lower tolerance limits according to defined processes. With the workpiece ID, all data is assigned to the respective workpiece. In addition, it is possible to use the recorder to evaluate the key figures CpK and PpK during the running process. The determined data provide the basis for reports on each workpiece, measurement type and statistical process.

BENEFIT
Thanks to the piezo technology used, the VOP40p achieves a repetition accuracy of 0.25 μm at 2 σ and measuring speeds of up to 3,000 mm/min. The optical signal transmission is immune to light interference. Where many systems are installed in a small space, it is ideal to use the available multi-channel frequencies. The pluggable measuring arm for tool measurement, Mida Tool Eye from Marposs, rounds off the measuring technology in the machine.
In everyday production, a clear presentation comprehensible at first glance of the relevant data is particularly important. For this reason, the ‘CNC Probing Recorder’ gives out the statistics as graphics and marks good and reject parts in colour.
CONCLUSION
After the production process, the measuring technology and documentation as well as the loading and unloading system have been successfully mapped, the production at Alsto runs automatically in continuous operation as expected with a repetition accuracy of the entire system of less than 1 µm. A result that is due to the successful exchange between the participating companies Alsto, Hardinge, and Marposs.
Read more about Milling and machining centers