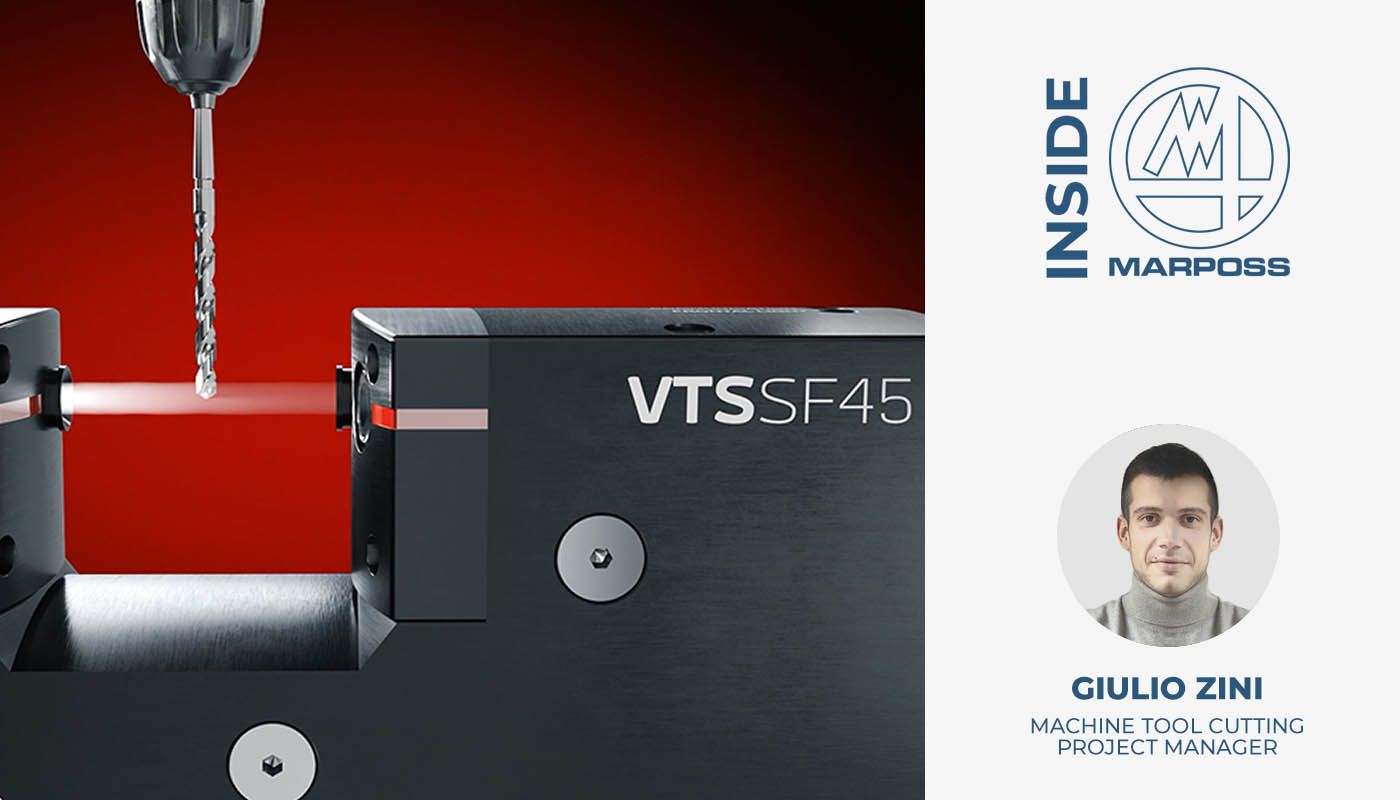
Feel the power of perfection without touching it: Marposs presents the new VTS

Year after year, the precision achieved in cutting processes in the industrial field has required tools with very complex shapes, but with increasingly smaller dimensions (even less than 0.1 mm). In many cases, the use of traditional technologies has become obsolete:
- Touch probes are not suitable for such small tool dimensions, due to the high probability of tool breakage during the measurement cycle
- Even laser technologies cannot guarantee the required accuracy levels, as these depend on the shape of the tool and the ratio of tool diameter to laser beam diameter. In fact, when the tools and the laser have similar small diameters, or when they have different shaped cutting edges (e.g., ball-tipped cutters or flat-tipped cutters), measurements cannot be made accurately.
How do you take it to the next level?
Thanks to our decades of experience in the optical field, Marposs has developed the new VTS (Visual Tool Setter) product line with a CCD sensor, entirely designed and produced by Marposs. Why optical technology? Because it transcends the limits of traditional devices, making tools with extremely complex shapes measurable with a level of precision that no other type of device can achieve.
Then, if you combine the power of optical technology in different industrial environments, the result is a product that is perfect not only for traditional metal cutting processes, but also for new growth markets such as semiconductors, biomedical, ceramics, etc...
New VTS SF-45 COMPACT - same performance with reduced size
What's new? Marposs presents its new visual tool setter: the VTS SF-45 Compact. The new mechanical design maintains the same market-leading repeatability and accuracy. However, its new size makes it ideal when machine space is an issue.
With the introduction of the SF-45 Compact, the VTS product line also includes the mid-size WF-85 and looks forward to the WF-170 in 2023. With the latest developments, the VTS line becomes extremely flexible and capable of being integrated into any type of machine covering any tool size range.
Features and benefits
The VTS uses the principle of shadow projection: the illuminated object casts its shadow on the camera, which uses the resulting shape to acquire a large amount of information in a single moment, including tool length, static and dynamic diameter, TIR and cutting edge radius.
With a resolution of 0.1 µm, the VTS can measure even tools up to 10 µm in diameter, maintaining an exceptional repeatability level of 0.2 µm. During the acquisitions, the tool can continue to rotate at maximum speed. This means that the operator does not need to slow down the spindle, which reduces pre-setting times and increases measurement accuracy.
In addition, the VTS can also be used to analyze the tool surface with a front light: the operator can see the illuminated surface on a PC monitor and assess the integrity of the cutting edges, document the tool history and reveal any damage in advance.
The VTS system is equipped with a Graphical User Interface (GUI), capable of showing the results of the last measurement acquired by the machine's CNC, managing manual measurement requests, showing the operator the tool surface and controlling VTS parameters. The GUI software for VTS is integrated in Marposs’ touch screen PCs (NEMO or Merlin+) or available as a stand-alone version for PCs with Windows or Linux operating systems.
How to combine measurement accuracy and resistance in a hostile environment?
A double protection system allows the VTS to work in harsh machine environments (IP67) and to be installed inside the working area. In this way, the measurement process is much more accurate since it takes place in the actual working conditions of the tool. This protection system consists of:
- Pneumatic shutters, which cover and protect the optical lenses when the VTS is not receiving the acquisitions;
- Barrier air, which is a flow of air that protects the lenses from dirt and coolant when the shutters are open.