Bore diameter and internal profile measurement of glass bottles
ID SCAN™
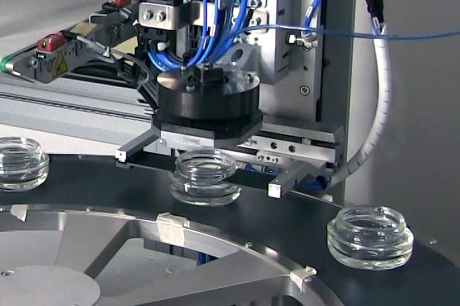
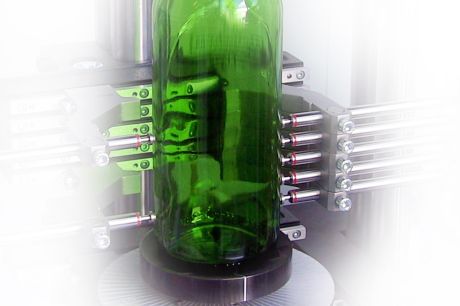
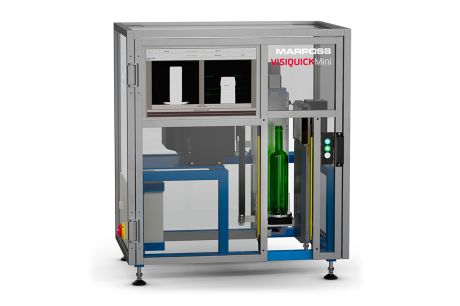
ID SCAN™ is a semi-automatic bench for measuring, automatically and without any mechanical retooling, bore diameter and internal profile of glass bottles, on sample basis.
Available in two versions:
- IDSCAN™ CE to be used at the cold-end, in the QC lab or in production environment
- ID SCAN™ HE to be used at the hot-end, before annealing
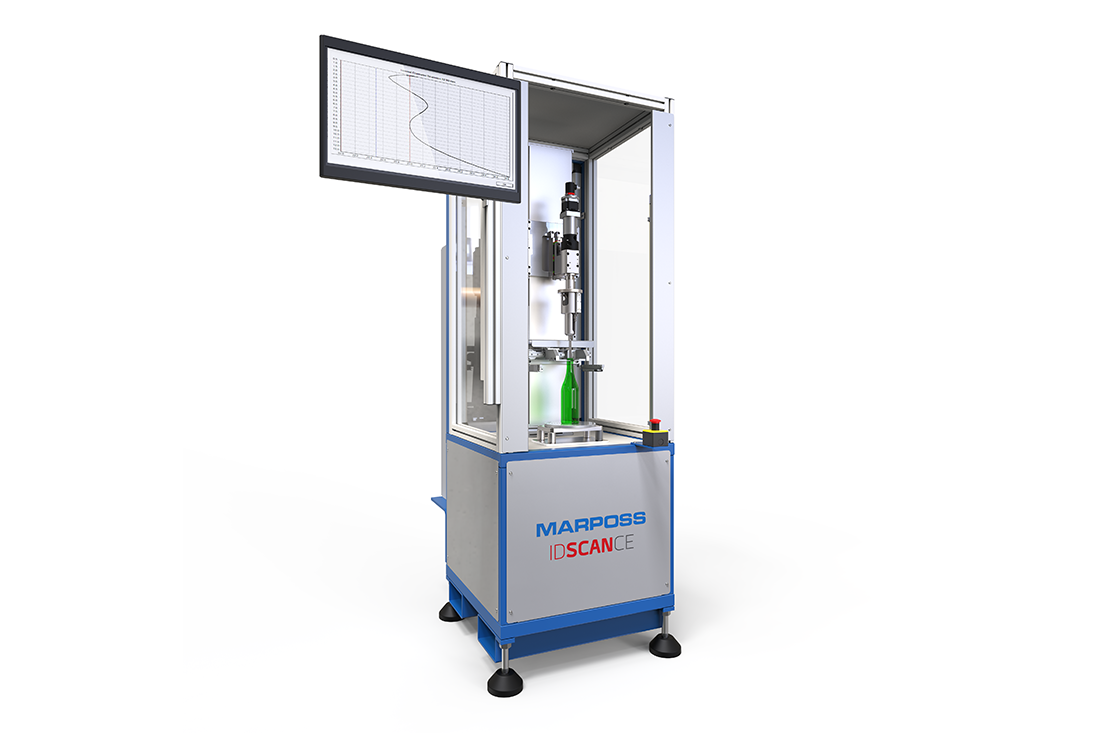
The bottle to be measured is manually loaded and the measurement cycle is managed fully automatically.
Measurements are carried out by a single contact tactile bore gauge, mounted on a rotating stage that can also travel in vertical direction.
Measurable characteristics include:
- bore diameter at one or more programmable depths (no limit to the number of bore diameters to be measured)
- internal profile in vertical direction
ID SCAN™ HE, for use at the hot-end, integrates some additional features to withstand hot-end ambient conditions, and to allow the measurement of non-tempered glass bottles
- accurate: to achieve accurate measurements, ID SCAN™ uses a single contact tactile bore gauge
- comprehensive: it can measure
- bore diameter, at different depths, also providing a visual representation of the bore real shape at each measured section
- internal profile with a graphic representation of the diameter variation in the scanned area
- flexible: no mechanical retooling required
- compatible with Manufacturing Execution Softwares (MES): ID SCAN™ is fully integrated with the most popular MES (e.g. Vertech SIL™ and others). ID SCAN™ receives from the MES all the information required to automatically generate the recipe related to the article to be measured. No programming is required by the operator on ID SCAN™. After the measurement of each container, results related to the mould, are sent to the MES.
- simple to use
|
Power supply |
220 -240V AC |
|
Measurable containers overall dimensions |
Height 70-435mm Body external diameter (or diagonal for non round containers) ≤ 190mm |
|
Range of measurable bore diameters and profile |
13-45mm (max depth 70mm) |
|
Measurement repeatability (evaluated on the master) |
≤ +/-0,01mm |
|
Measurement time |
From 30 sec. (depending on the number of bore diameters and profiles to be measured) |
|
Ambient working temperature |
ID SCAN™CE: <40°C ID SCAN™HE: <50°C |
BROCHURES AND MANUALS
| Catalogo | |
|---|---|
| Inglese |
ID SCAN: (417.34kB)
|
| Tedesco |
ID SCAN: (404.75kB)
|
| Spagnolo |
ID SCAN: (376.22kB)
|
ARTICLES
| Inglese |
ID SCAN: (1.41MB)
|
