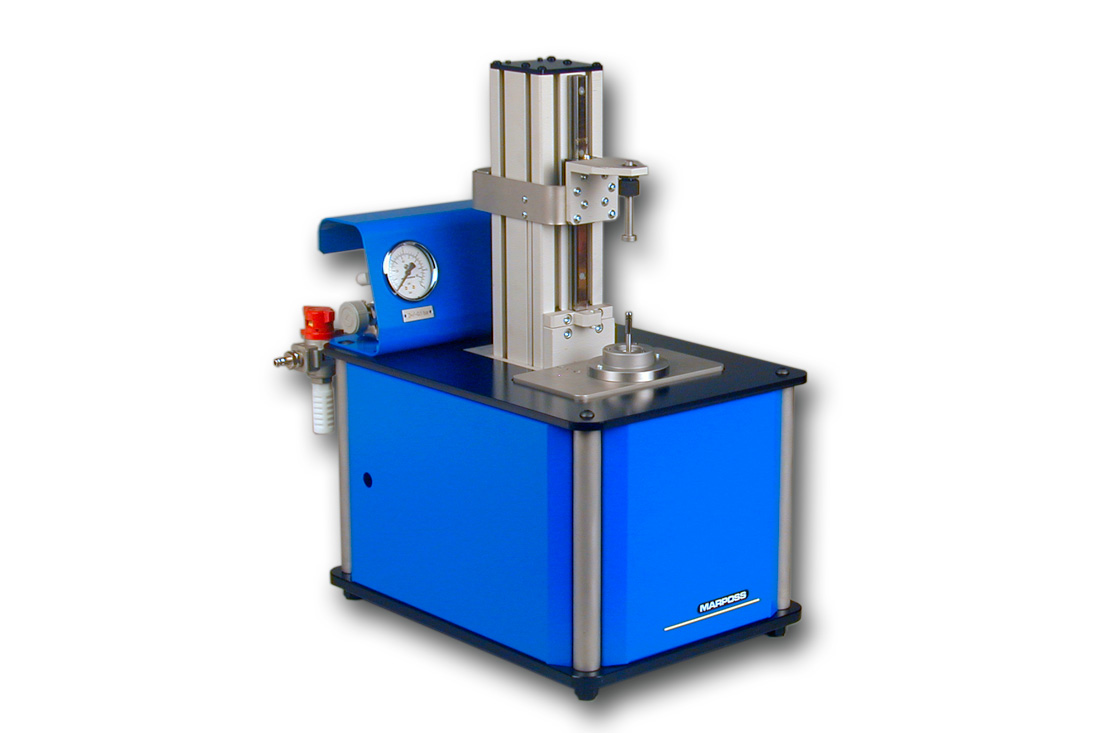
In the production of high precision matching components like injectors, injection valves and pumps, it's extremely important to guarantee the smallest shape errors on the machined workpieces. The cylindricity tolerance on these parts is typically tight, and their inspection can be generally performed only with Metrology Lab instruments. The use of "M39S Scanning System" generally allows to detect, directly in the shop floor environment, all the shape errors related to the measurement of diameter and its variation along the axis of the part (like taper and barrel shape).
Thanks to this new version of M39S, it's now possible to combine the scanning inspection of diameter along the axis, and the circularity check in one or more sections. This gauge can be placed directly along side the machine, and guarantees the possibility to control the grinding process in real time, with no need to wait for the results of the Metrology Lab inspection.
The measuring principle employed on the gauge allows inspection of true roundness of the part, detecting with a high accuracy all the components up to the 50th harmonic. The results of the measurements are shown on the screen together with the graphs of the scanning profile and the polar diagrams of roundness check. In this way it's possible to identify any shape error, independently of the number of lobes (even or odd) generated during the grinding process.
This system can be proposed for inspection of inner or outer diameters; air-to-electronic solutions and contact solutions are available. In the contact version, the system can be easily and quickly retooled on 1,5 mm range of diameters. Depending on the dimensions of the inspected part and the specific measuring cycle programmed on the gauge, the cycle time can range between 20 and 60 sec. Sub-micron measuring performances are guaranteed either for diameter or circularity inspection.
