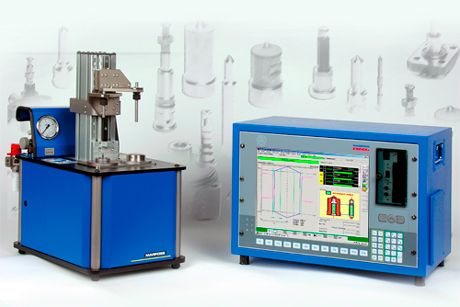
Trend toward shop floor gauging of high-precision parts really got started in the fuel injector industry.
Here
a typical requirement is to measure both size and true
roundness on Plunger and Body components having
a 0.6 micron roundness tolerance on the OD and ID
respectfully.
A lab-grade machine can do that easily, but
it typically can take an hour or more to get the results.
During that hour the manufacturer can either shut down
the process and lose the production, or continue making
parts that may well have to be scrapped.
Caught between
a rock and a very hard place, one injector manufacturer
decided to explore an alternative solution that put the
gauge on the shop floor next to the production machines.
...
Read How-To Make Lab-Quality Inspection An Integral Part Of Your Shop Floor Workflow, that first appeared in the March 2015 issue of Quality Magazine.