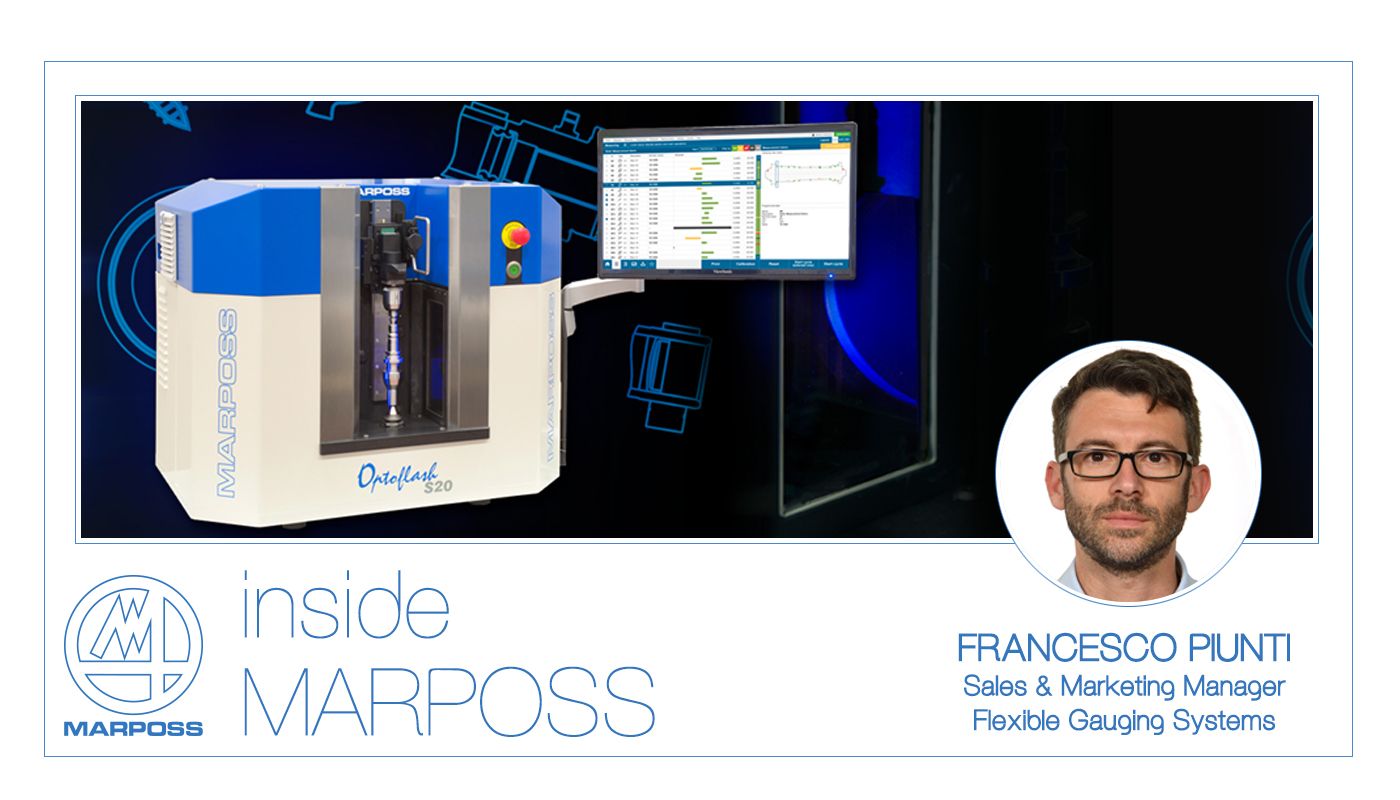
Optoflash is a measurement solution for use in production environments, it performs precise measurements by capturing and analysing optical images.
It has been designed for applications in the automotive, general manufacturing, aerospace and medical sectors. It may be used both in the standards laboratory, as a precision measurement instrument, and in the production environment for carrying out fast, accurate measurements on small-scale, precision components. For example, Optoflash is the ideal for checking electric motor shafts and drive shafts, electronic connectors and hydraulic circuit components.
Optoflash is the world’s-first optical measuring unit based on side-by-side 2D image architecture.
This means that the images, which are acquired by separate sensors, are combined perfectly to form a single resulting image of the part without interruptions or gaps at the stitching edges.
As a result Optoflash is capable of measuring parts up to 300 mm in length without any vertical movement of the sensors or the part itself.
Why Optoflash? Simply unrivalled
It is super - FAST
With the absence of Z-axis motion the optical acquisition of the complete part - which consumes time on other systems - is performed almost instantaneously on the Optoflash.
Therefore its cycle time is impressively fast. For example, it executes 100 static measurements in just 2 seconds irrespective of how the measurement sections are distributed along the shaft length!
EASE of USE - designed for customer use
The intuitive user interface eliminates training costs. Features like smart results visuals, part detail images and graphic setups. The system is extremely easy to use and configuring new measurements on Optoflash couldn’t be simpler.
Precise, accurate measurements
Optoflash guarantees the level of precision necessary for the most demanding applications in the industrial manufacturing sector.
Integrated solution
Optoflash is an all-in-one solution: it does not require any separate wiring or additional components. This means that Optoflash does not require installation and is ready for use as soon as it is switched on!
User-friendly? Yes, sure!
Even the least experienced operators will be able to add measurements to a control program.
The interface has been designed to be user-friendly and flexible, while enabling users to set-up configurations with varying levels of complexity.
The multi-level access function means that different parameters can be assigned to different operators.
Flexibility guarantees product longevity
Thanks to the flexibility of the optical measurement system, Optoflash may be easily configured to measure new parts. This flexibility renders Optoflash “future-proof”!
Optoflash is a cost-effective system
The architecture is based on wide field 2-D images, which means that it is the fastest product of its type on the market and guarantees maximum productivity on the production line.