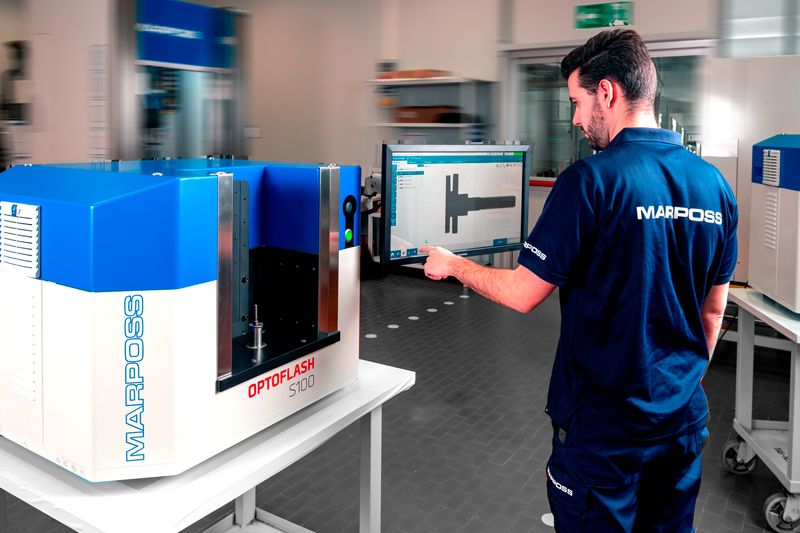
Optoflash: the perfect solution for fasteners quality control

Based on 2D optical technology, Optoflash has all the characteristics to be a reference point in the fasteners industry, for quality controls on small-size products like fasteners.
In the fasteners industry, quality controls of screws is a crucial activity for operators. While manufacturing operators generally control screws during work-in-progress execution and at endof-process, those operators in the supply channel need to guarantee inbound and outbound compliance to the nominal screw specifications.
The high volume production together with the high variety of screw models generally result in a demanding condition for any operator in this industry, due to complexity of controls and consumption of time to execute the measurements. There is a wide measurement toolkit library that can easily solve any of the most typical measurement problems. These include dimensional, position and form measurements both in static and dynamic mode.
The library also includes thread measurement functions. Optoflash is based upon state-of-the-art area image sensors and it can perform many micrometricprecision checks on parts with an unprecedented speed. Optoflash uses multiple image sensors integrated in fixed positions across the product structure to cover the entire measurement range. This gives the advantage that neither the image sensors nor the part being measured must travel along the Z-axis.
Dozens of measurements in less than 10 seconds
Operator places a screw in measuring position and activates the automatic measuring cycle through the Start button. In 10 seconds, the Optoflash executes a 360° analysis of the screw and returns a graphical report of the measurements. Through automatic processing and total screw analysis, the optoflash guarantees a strong level of measurements consistency, as high repitability and reproducability of the measurements, a performance level that is difficult to obtain though traditional manual measurements operations.
Measurements output are displayed as overlays and associated to the real screw image. Color codes helps in determine critical conditions on the inspected part. As result, operators can experience an high level of ease of use and quickly validate the measurement results.
Measurement setup is easy as fast
With a drag and drop action, the user can place the measurement directly of the part drawing, and input the necessary data as the nominal value or the tolerance range. Screws are generally positioned into the Optoflash over a flat face plate or through a dedicated plug matching the head cavity dimensions and features.
On the Optoflash there is a measurement toolkit, dedicated to screws, that integrates the most common controls required on screws.
The measurement of screws is not generally an easy task, since the variability of the screw features and its profiles. Nevertheless, on the Optoflash the measuring technical complexity is managed by the software and not visible to the users. In fact, the Optoflash automatically compensates the variability of the part positioning on the holder and also the possible form errors of the screw. The Optoflash analyzes screws over the 360° degrees and it automatically combines several images, in order to determine both part optical axis and measurements of the features.
Read more about Optoflash and download the brochure