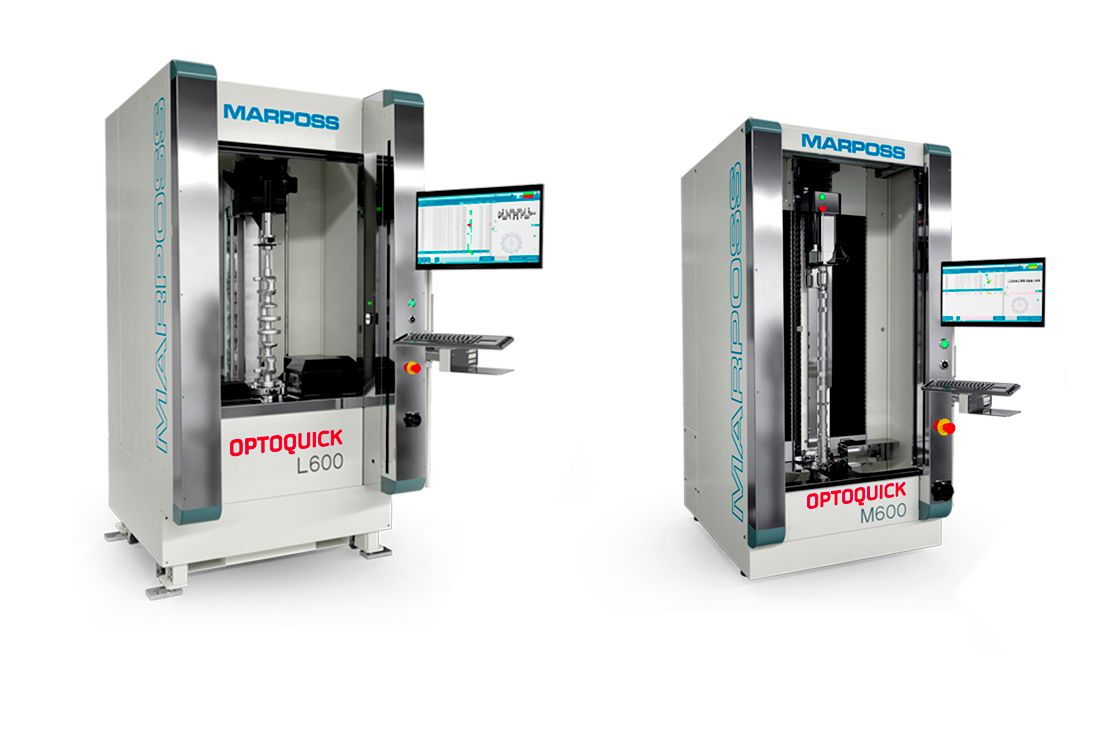
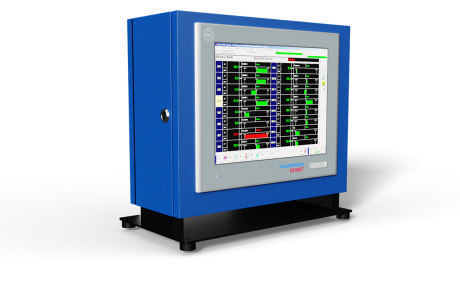
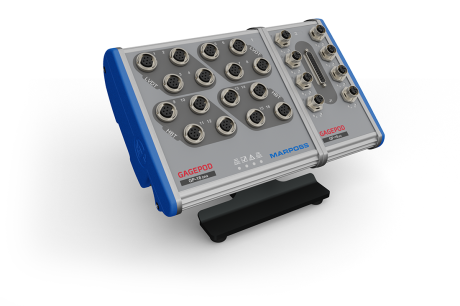
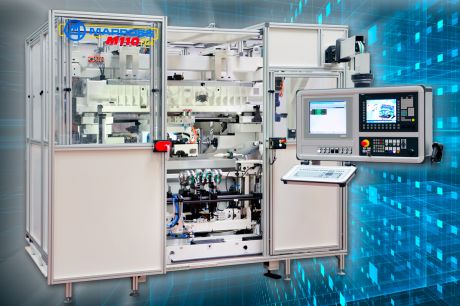
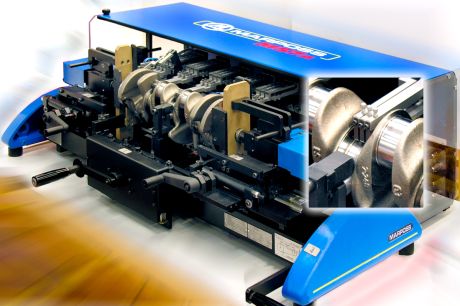
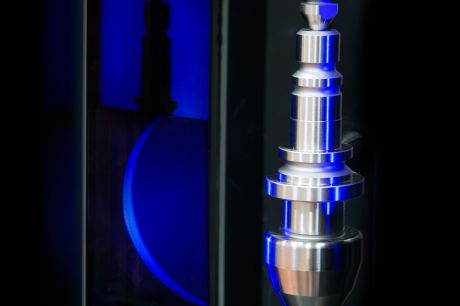
The Optoquick offers extended measurement capabilities beyond the industry standard. Its Image based technology assists in short cycle times; parts are measured in motion without contact, avoiding any wear or scratches of the part.
Using intelligent image processing, the Optoquick can inspect several different features, on the part, at the same time. Fast quality checks with the Optoquick results in higher productivity, which optimizes production capacity.
With its user-friendly setup, it requires minimal training. The Optoquicks’ part-loading is ergonomically developed to grant an open and clear loading area with no obstructions.
The new Optic graphical interface is carefully designed to be user-friendly and to give clear measurement results that show all part non-conformances on a clear, visual part layout.
FAST AND PRECISE: The Optoquick is designed to perform comprehensive quality controls on a part in seconds. The image-base technology and the shadow-casting inspection mode, grant the ability to achieve high precision measurements in a short cycle-time.
FLEXIBLE: One single Optoquick can be used to control several machines, manufacturing different parts, in the same production area.
MULTI-SENSOR: The combination of optical and tactile sensing technologies - (complete MARPOSS design) - allows the Optoquick to deliver extended gauging capabilities and flexibility, at the highest level of its category.
Latest addition to the product range is the confocal sensor and the 3 Axis Hall sensor.
EASY TO USE: Efficient and fast for customer operations.
INDUSTRIAL: The Optoquick operates on the shop floor with the highest performance in a wide temperature range.
For all technical characteristics, please refer to the brochure in the DOWNLOAD section.
Two Main Families:
- OQM with a measurable diameter from 0-60 to 6-126, part length 600mm or 900mm and the optional contact probe.
- OQL with a measurable diameter from 0-60mm to 0-300mm, part length of 600, 900 and 1200, and up to two additional options:
-
Touch probe
-
Or alternatively
-
High-Speed cam follower (for inspecting concave profiles)
-
3 Axis Hall sensor (for inspecting the magnetic field intensity of permanent magnets rotors)
-
Confocal Sensor (for inspecting splines)
-
High precision gauging of:
-
Rotor Shafts
-
Hydraulic Components
-
Spindle Shafts
-
Crankshafts
-
Camshafts
-
Drive Shafts
-
Gear Shafts
-
Aerospace shafts for linkages
-
Ballscrew
-
Electric Motor Shaft
-
Permanent Magnet Rotors (Including Magnetic Field Inspection)
Optoquick is capable of dimensional, position, and form measurements, for example:
|
Diameter Length Radius Chamfer Angle Radial run-out Axial run-out |
Concentricity Cylindricity Coaxiality Straightness Roundness Flatness OBD Profiles |
Symmetry Parallelism Perpendicularity Cam profile Stroke index Threads Magnetic Field Intensity |
Additionally, it’s able to simply satisfy traditionally demanding cases, as for instance:
- Eccentric parts
- Out-of-focus items, crankshaft pin journals
- Measurements at discontinuities, with relevant dimension variations
- Profile of concave shapes
- NEW Permanent Magnet Rotos With combined inspection of magnetic field intensity and dimensional measurements
- NEW Splined shaft including the OBD, OBD runout, root diameter, and pitch diameter.
