Internal Diameter Grinding Process Monitoring Gauge Line
THRUVAR™
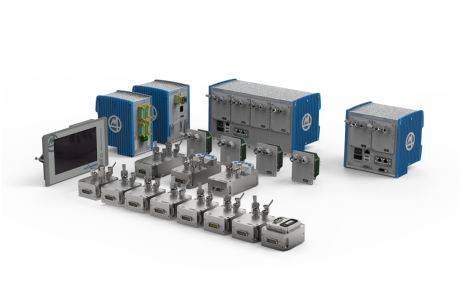
Marposs presents a complete range of gauges for all your internal diameter grinding process monitoring needs. The Thruvar range of products includes gauges for every type of requirement, in terms of size and performance. These gauges, which are designed to optimise the use of space, are adapted inside the machine spindle and maximizes the efficiency of the machining process due to the use of Quick-set up technology.
The part is measured during the grinding cycle (in-process). The gauge, together with the associated electronic control unit, exchanges information and signals with the machine in order maximize performance and achieve the desired results.
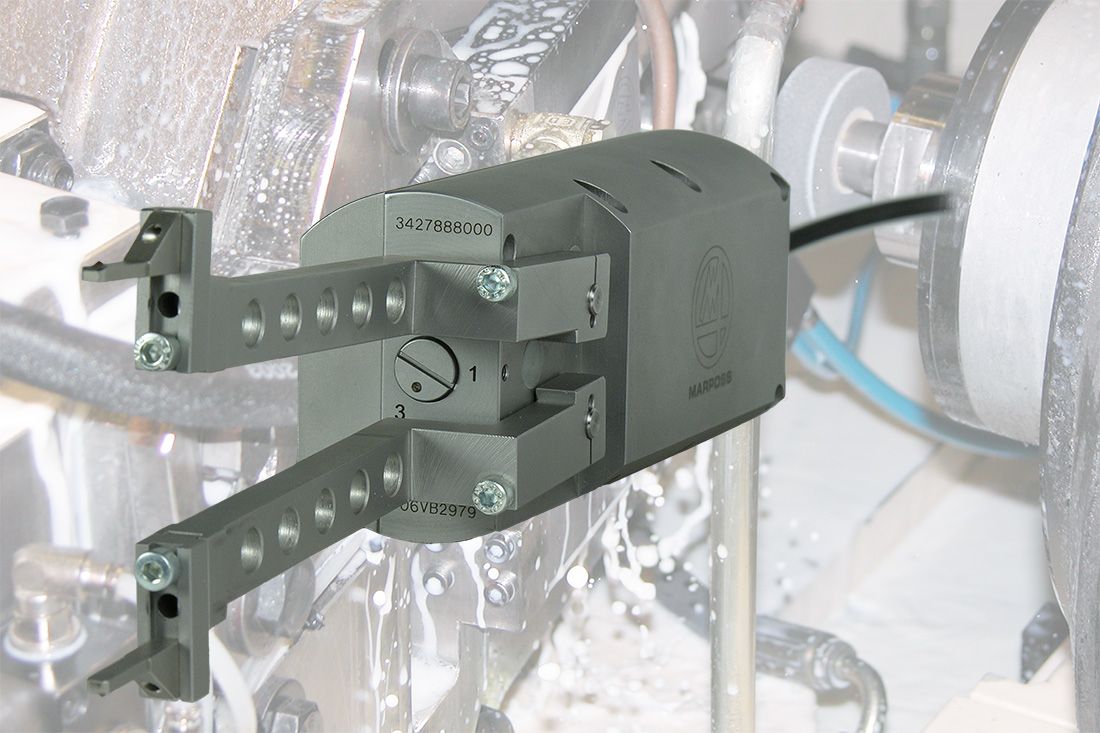
The Thruvar range of products permits users to:
- measure internal diameters, even when they are difficult to access
- respect the available space inside the machine: the gauges are designed to be adapted inside the spindle
- reduce machine down time due to the rapid part changeover set-up system
- select from a wide variety of solution configurations due to the vast range of gauges available
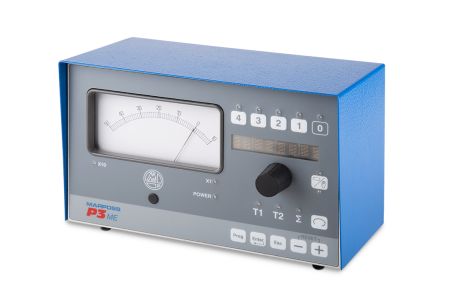
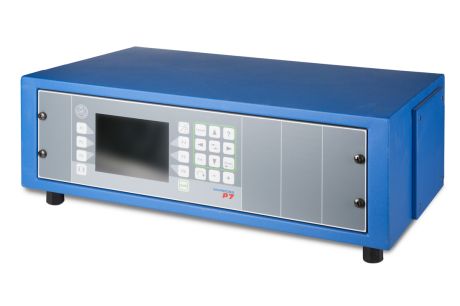
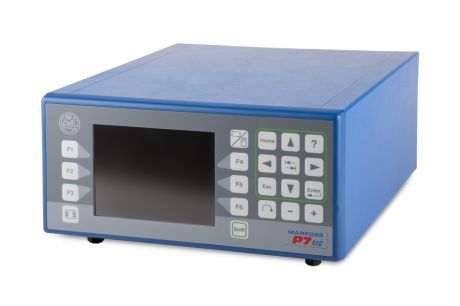
- configure applications for every type of requirement, and performance level, by selecting the appropriate electronic control unit;
- integrate the internal diameter measurement function into the global Marposs monitoring system (grinding wheel balancing, acoustic signals, art surface controls, statistical process monitoring)
Thruvar gauging heads are designed to be housed inside the machine spindle and measure internal diameters during the part grinding process. The signals generated by the gauge are sent to an electronic control unit that enables the process control by sending outputs to the machine (i.e. grinding wheel progress, cutting speed control, etc.)
Some models also include a pneumatic retraction function, which guarantees the gauge is away from the part and that the measurement cycle is initiated and concluded in conditions of extreme safety. The Thruvar line of products also features Quick-set up technology, available on both the automatic and manual versions, which help to reduce set-up times following machine re-tooling (part changeover).
The gauges are manufactured using extremely resistant materials, both from a mechanical and chemical (corrosion) point of view. The choice of materials is the result of many years of experience in the market sector.
- Increased production quality (reduced rejects)
- Highly versatile
- Integrability
- Highly reliable and robust
- Simplified part loading/unloading system (increased productivity)
- Rapid set-up systems (increased productivity)
The Thruvar range of products includes a wide variety of versions, based on the customer’s needs.
Picothruvar
Picothruvar is the smallest available gauge for internal diameters. In order to guarantee the required performance specifications while maintaining its compact size, this gauge is not equipped with the head retraction function.
Microthruvar
In order to guarantee the required performance specifications while maintaining its compact size, the Microthruvar gauge for small internal diameters is not equipped with the head retraction function.
Minithruvar
The Minithruvar gauge, which is designed for measuring small internal diameters, is available in the simple configuration , or with electrical retraction.
Minithruvar 5 – Thruvar 5
The only difference between the Minthruvar 5 and Thruvar 5 gauges is their physical size (see figure). Both gauges are equipped with pneumatic retraction and an automatic quick set-up system, which reduces cycle times during the retooling phase (part changeover). Thruvar 5 gauges can also be used to measure grooved profiles (keyslots).
Thruvar 8
The Thruvar 8 gauges for internal diameters are manufactured entirely in non-magnetic stainless steel for maximum mechanical and chemical resistance. These gauges are equipped with built-in pneumatic retraction and a manual quick set-up system for reduced cycle times.
Thruvar 50 – Thruvar 70
The only difference between the Thruvar 50 and Thruvar 70 gauges is their physical size (see figure). Both gauges are equipped with pneumatic retraction and an automatic quick set-up system, which reduces cycle times during the retooling phase (part changeover).
BROCHURES AND MANUALS
| Brochure | |
|---|---|
| English |
THRUVAR: (590.19kB)
|
| Italian |
THRUVAR: (585.36kB)
|
| German |
THRUVAR: (589.08kB)
|
| French |
THRUVAR: (588.93kB)
|
| Spanish |
THRUVAR: (591.56kB)
|
| Japanese |
THRUVAR: (567.28kB)
|
| Simplified Chinese |
THRUVAR: (673.39kB)
|
